
A new campaign setting from one source photo
The image begins as an approved source photo and is changed with one focused scene direction.
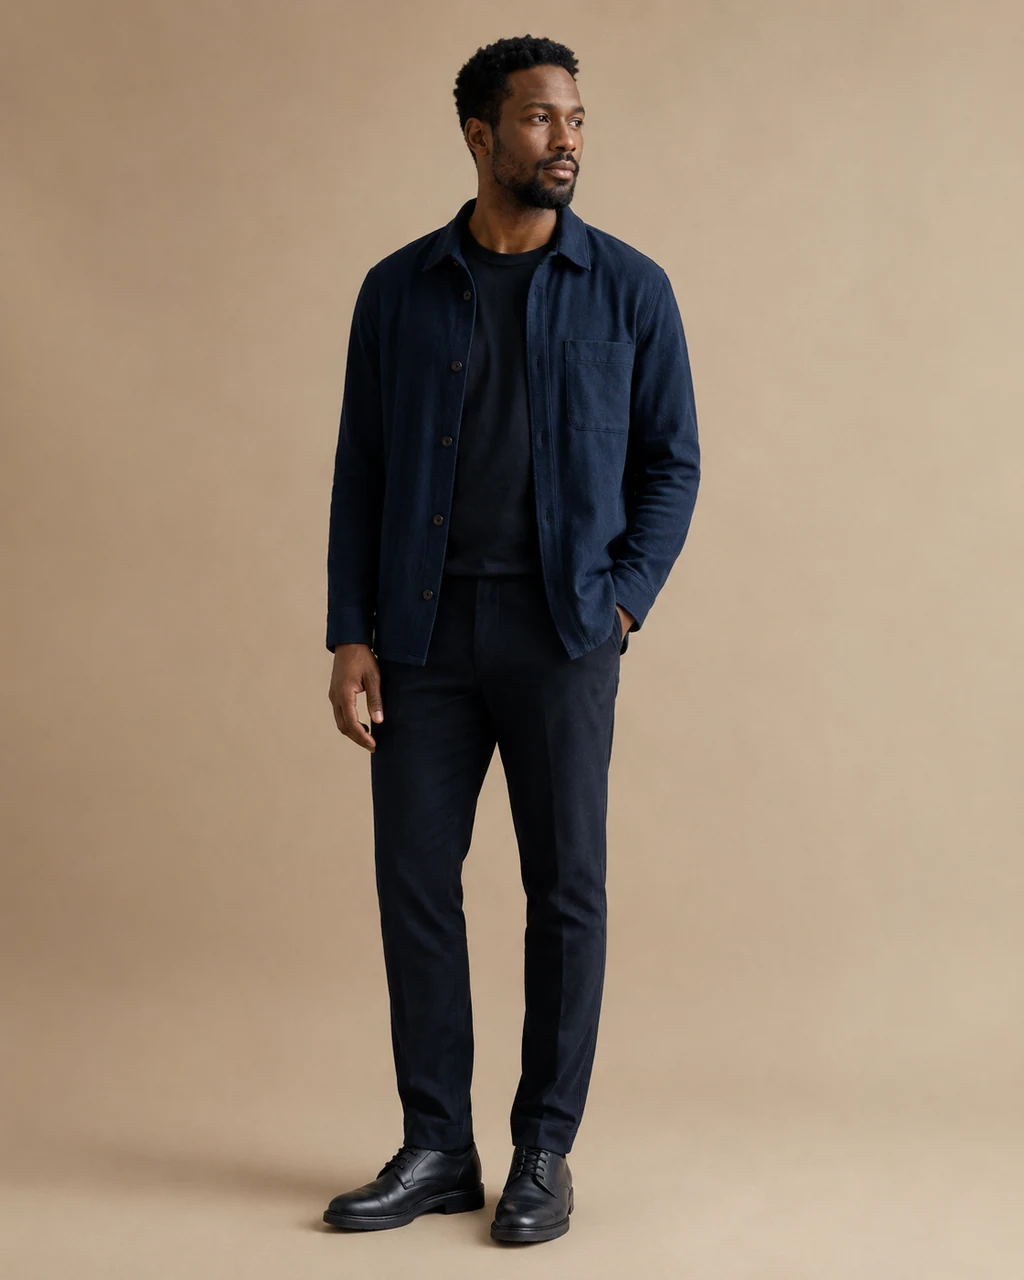
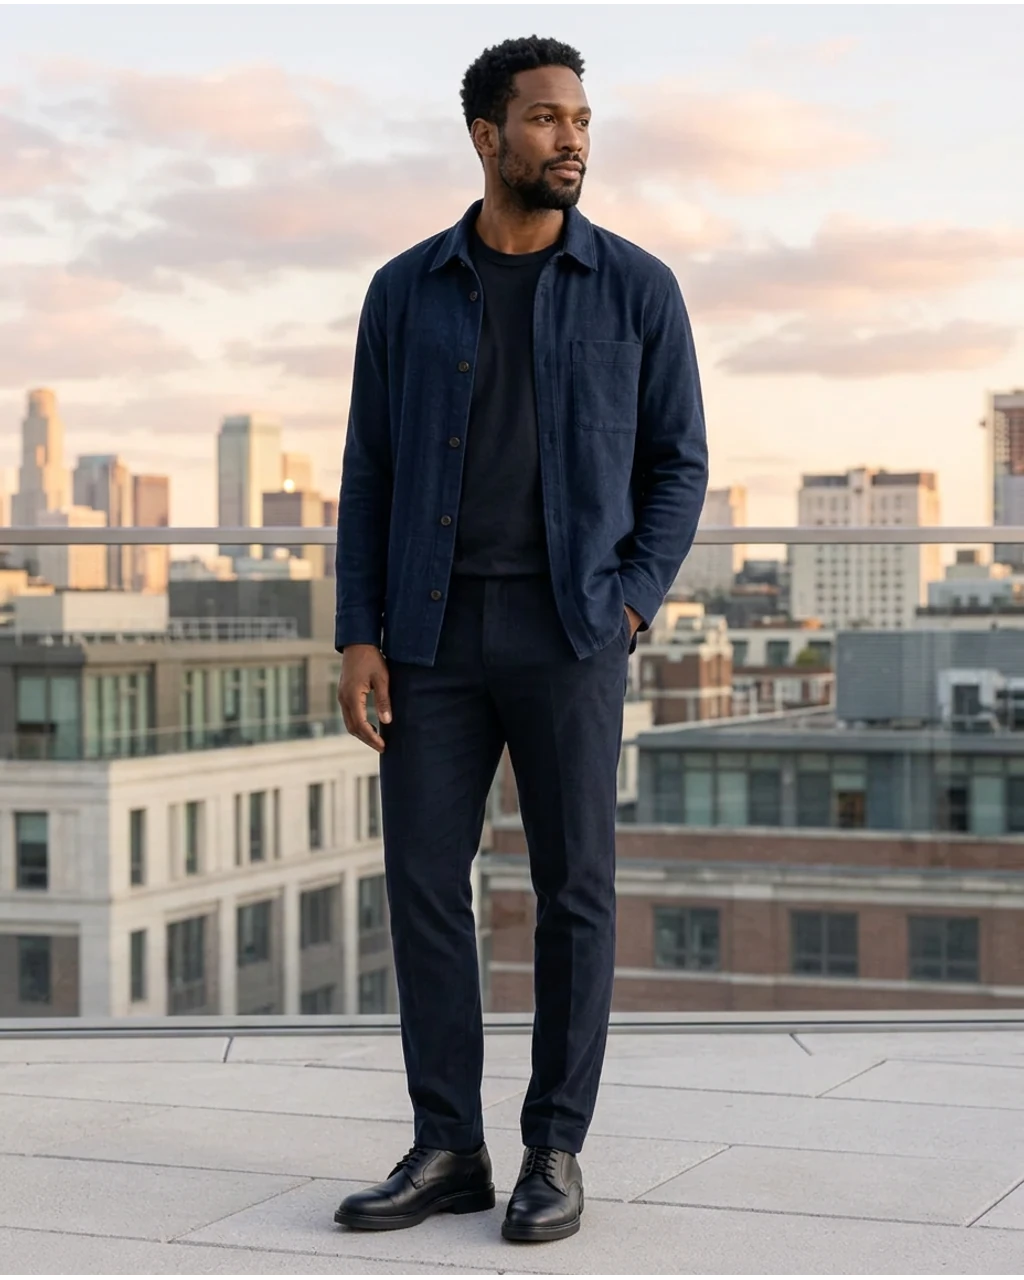
Make a focused photo change without rebuilding the whole image. Start with a photo you are allowed to use, describe the change that matters, and continue in Studio when you are ready to create an edited version.
Edit a Photo in Studio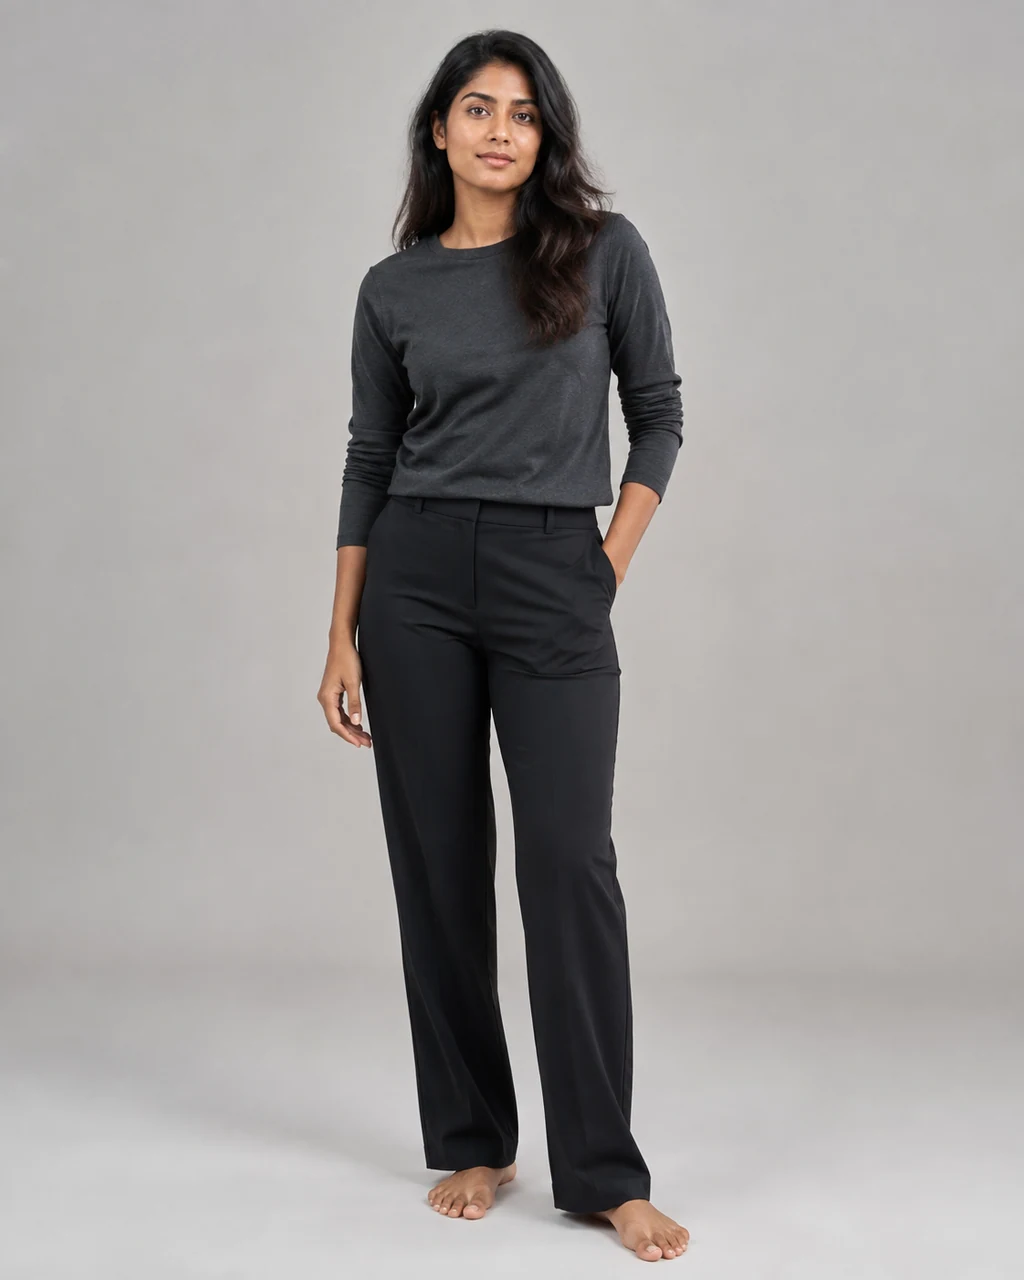
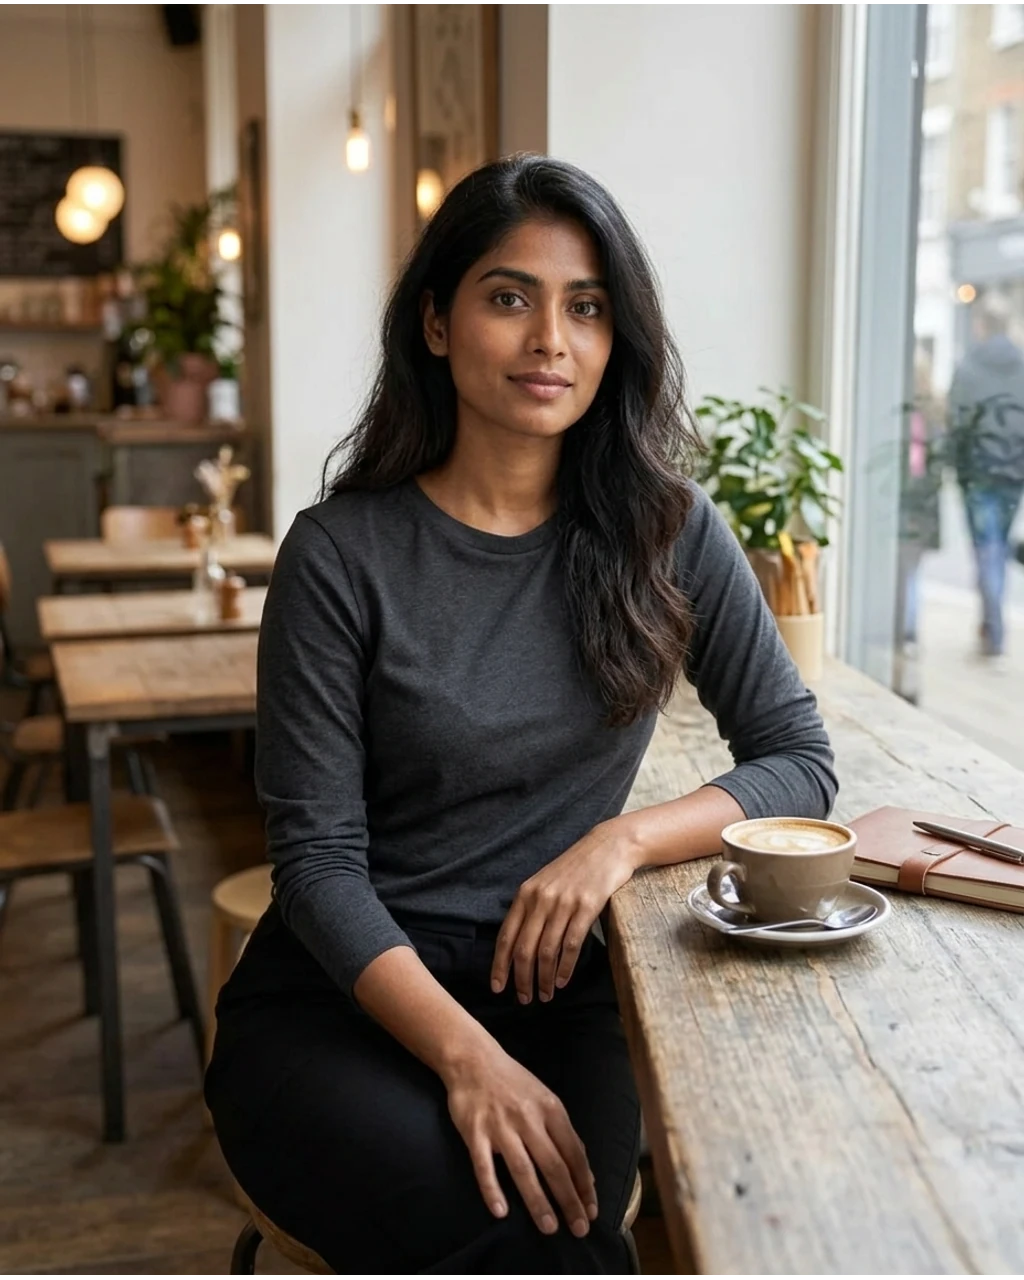
An AI photo editor turns a clear written direction into a new version of an existing image. It is useful when a scene, crop, styling direction, or campaign mood needs a fresh pass while the original person remains recognizable.
The source and result below are fictional examples made through the same type of edit available in Studio. They are examples to review, not customer work.
The image begins as an approved source photo and is changed with one focused scene direction.
Keep the request focused on a useful visual outcome rather than trying to turn one image into every possible campaign asset.
Move a creator into a setting that better matches the story, channel, or season you are preparing for.
Use a focused direction to change the visual mood while keeping the source photo as the starting point.
Create a new framing for a profile, social post, vertical creative, or campaign placement.
Explore a more specific visual route before a creative review, then keep only the version you approve.
The value is a reviewable new version of an approved source image, not an automatic replacement for creative judgment.
Use an existing creator image instead of trying to describe every important detail from scratch.
One clear change is easier to inspect than a long list of competing directions.
Prepare separate versions for social posts, product moments, profile refreshes, and campaign tests.
The Studio route keeps the source image, the task choice, and the pre-submit decision in one place.
A source photo with clear visible details makes it easier to judge whether the new direction still works.
Clear light, a visible face or product, natural proportions, and enough room around important edges.
Heavy blur, crowded scenes, blocked hands, reflections, tiny labels, or several people in one frame.
This workflow is for people who need a new version of an existing approved image, not a generic image library.
Refresh an existing photo for a new post, profile moment, or creator-led campaign.
Prepare focused visual routes for review without rebuilding every creative from zero.
Adapt an approved source image to a campaign mood, placement, or product story.
A clear source photo can become a more useful editorial scene when the direction names the new location, tone, and framing without losing sight of the person you started with.
Use a separate result for a distinct placement, then inspect the person, crop, and visible details before using it.
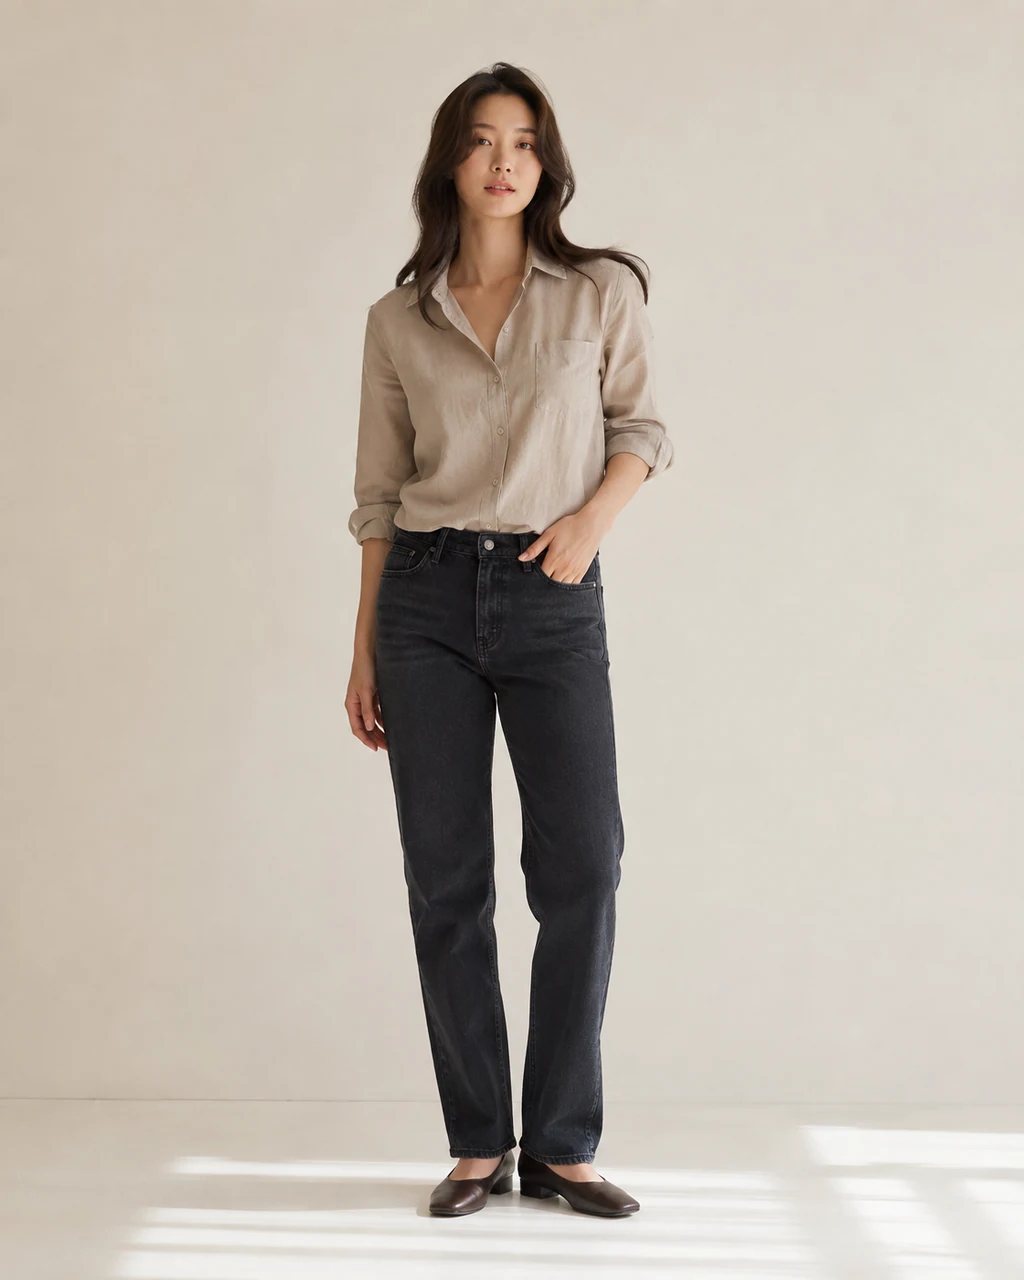
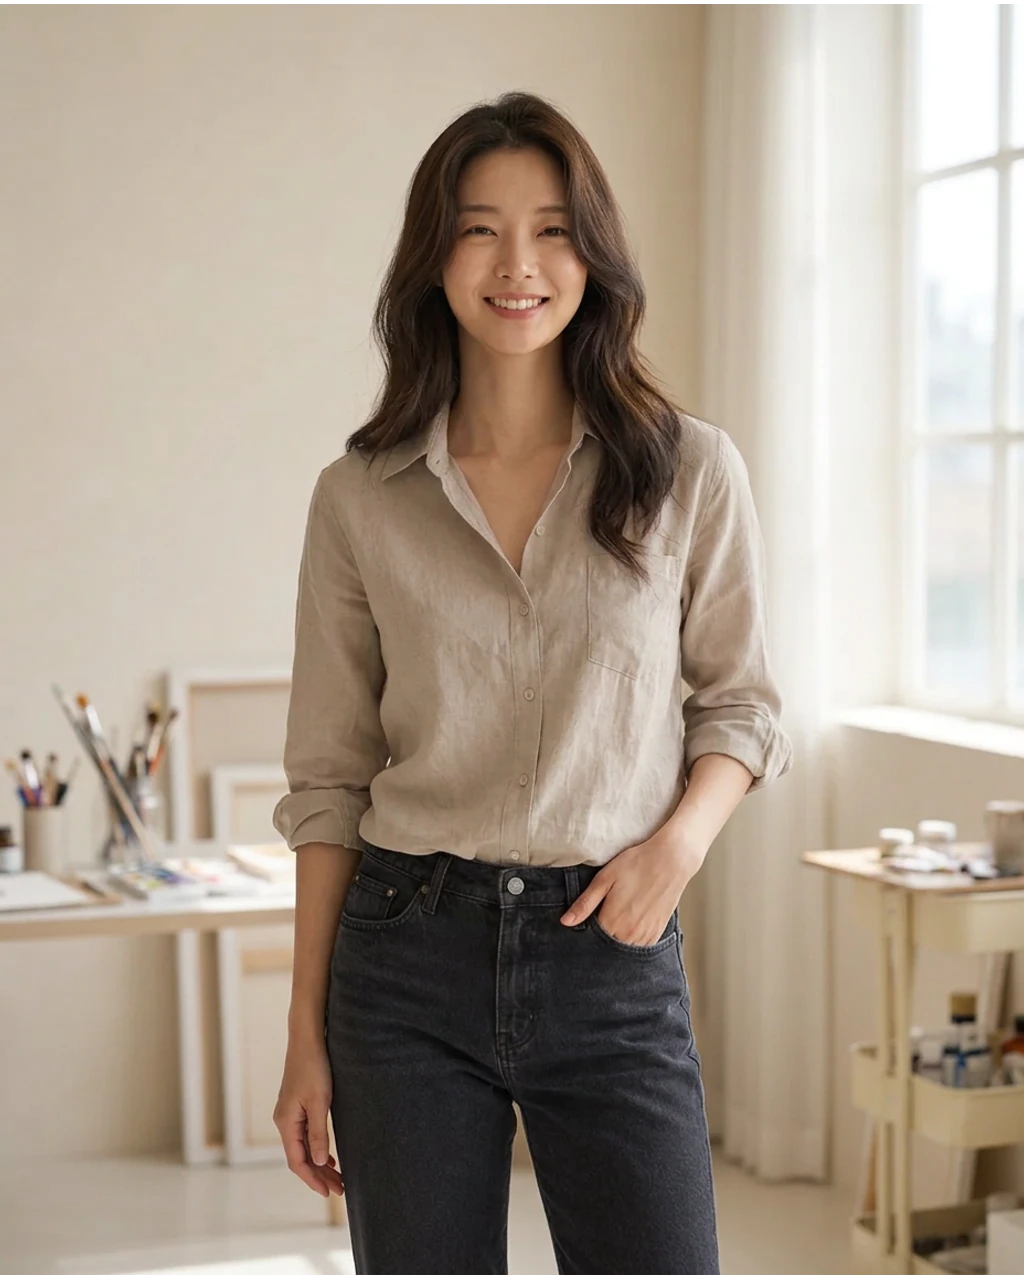
Use one approved source photo as the starting point for a product, seasonal, or lifestyle message, then compare the result against the original before it goes anywhere public.
Review any product, label, lighting, and campaign detail against the original before the image is used publicly.
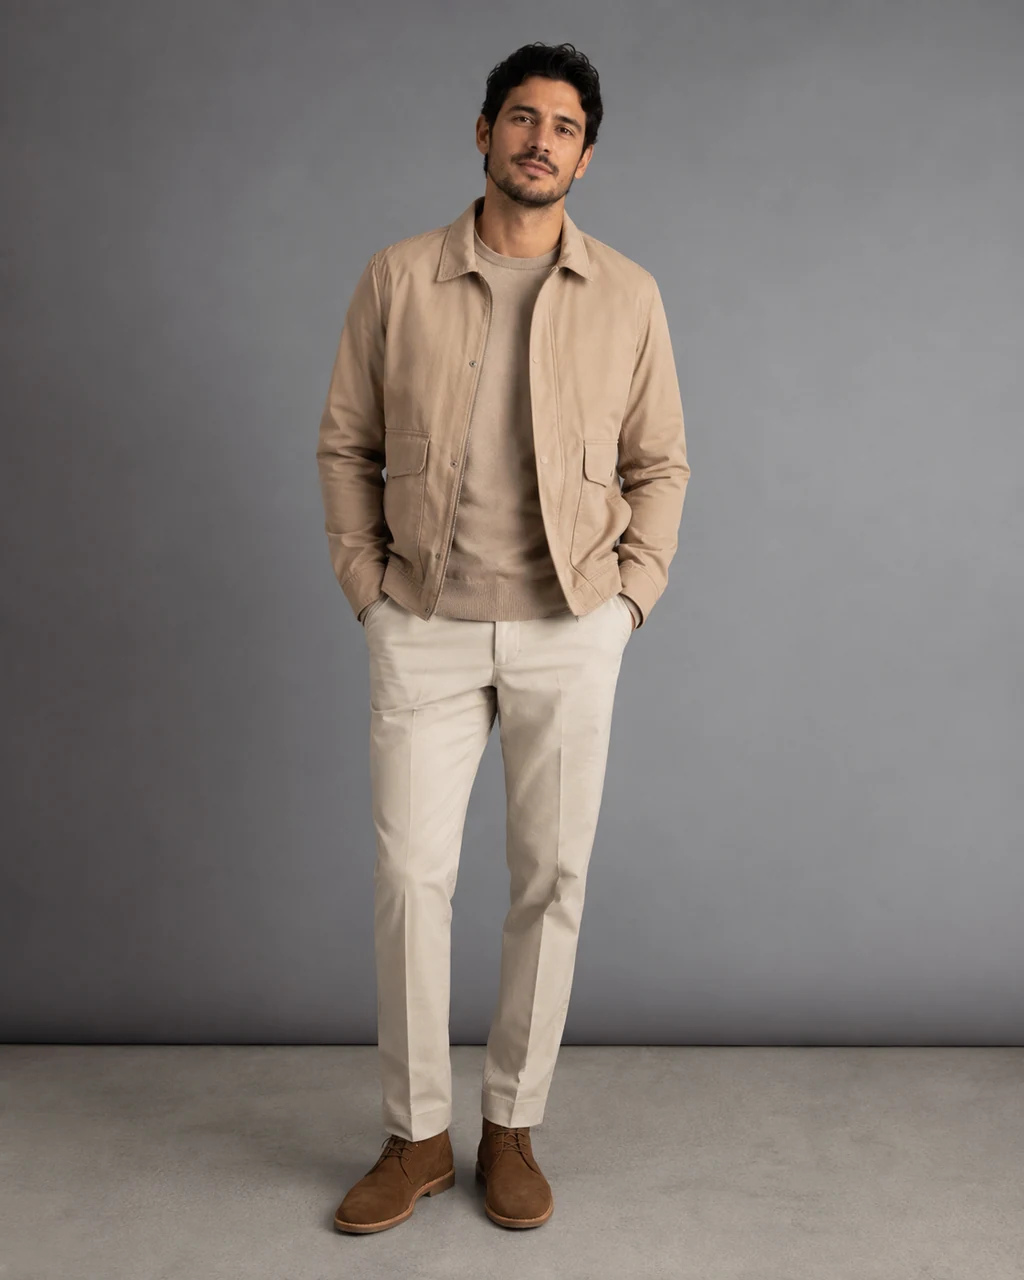
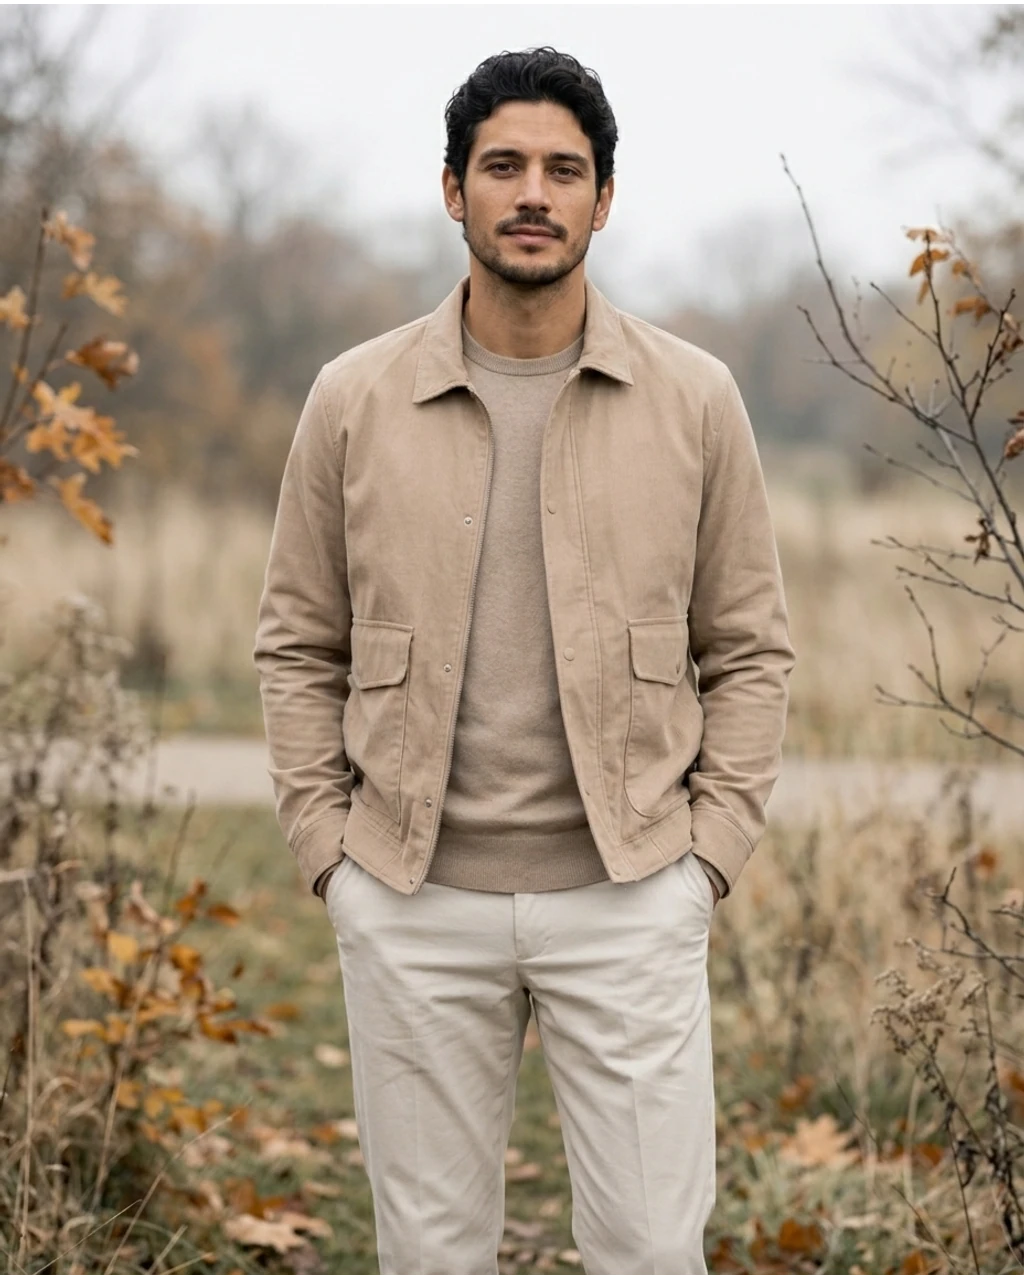
A useful direction says what should change, what should remain recognizable, and why the new version is needed.
A simple direction such as a setting, crop, lighting mood, or campaign context gives the review a clear purpose.
Call out identity, pose, product shape, or a key composition detail when it matters to your use.
A focused request for each placement is easier to judge than asking one image to serve every channel.
Treat every generated image as a draft that needs a human review before you download, publish, advertise, or share it.
Choose the workflow that matches the amount of control and the kind of review your image needs.
Use it when you need one meaningful visual change from an approved source and want a fresh version to review.
Use manual editing when a small pixel-level adjustment, exact type treatment, or production retouch needs direct control.
Keep the source authorization and expected use clear before you start.
Studio accepts JPG, PNG, and WebP source images. Use a source you own or have permission to edit.
Studio shows the current generation choices and quote before a task starts, so you can decide whether to continue.
Use the same credit plans, billing options, and generation choices available across the rest of the site. Studio shows the applicable credit quote before you submit.
The final decision stays with the person preparing the image for its intended audience, platform, and commercial use.
Generated edits can need extra review around hands, hair, text, reflective surfaces, packaging, and fine patterns.
An edited image is a creative asset, not proof of a real product feature, customer outcome, or event.
Upload only photos you own or have permission to edit. Review the final result, disclosures, and commercial-use requirements before publishing or using an image in an ad.
Move from a focused edit to background cleanup, a new outfit direction, a product scene, or a professional profile image without losing the purpose of the original task.
Add restrained skin detail to an overly smooth portrait.
Preview haircuts, colors and textures on a source portrait.
Explore a written wardrobe change for an authorized adult source.
Create a product-only scene from an owned product image.
Create a polished headshot for a reusable profile image.
Remove a photo background before placing the subject elsewhere.
See every live workflow in the Studio.
Compare plans and current credit options.
Understand how Studio quotes work before you start.
Review privacy, rights, and commercial-use terms.
These answers describe the current Studio workflow and the review expected before a result is used.
Open the matching Studio workflow when you are ready to upload an authorized source image.
Edit a Photo in Studio