
A compact social image needs a closer look
Prepare a larger version before a crop, carousel, or close placement makes compression and edge detail more visible.
Start with one authorized image. Create a fixed 2× version, then inspect the detail that matters before you place it in a social post, product layout, campaign, or print file.
Upscale an Image in StudioAn AI image upscaler makes a larger version of an existing image. It is for a source that is too small for its next placement, not for changing the scene, subject, or meaning of that image.
The useful question is not whether every image should be enlarged. It is whether the detail in this particular source needs another review before you reuse it.
Prepare a larger version before a crop, carousel, or close placement makes compression and edge detail more visible.
Review shape, packaging edges, reflections, and small visible details before moving a source into a listing or campaign layout.
Give hair, skin texture, fabric, and accessories enough room for a human review at the intended placement.
These jobs begin with an existing authorized image and a specific placement problem, not a generic image search.
They may start from a small approved image and need a larger version before a new crop or social placement.
They may need to inspect one owned product source more closely before it becomes part of a listing, comparison, or campaign composition.
They can use a larger review version to decide whether the original has enough visible quality for the planned use.
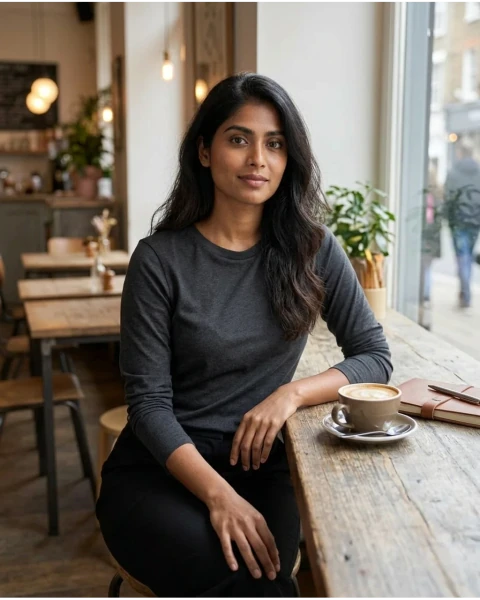
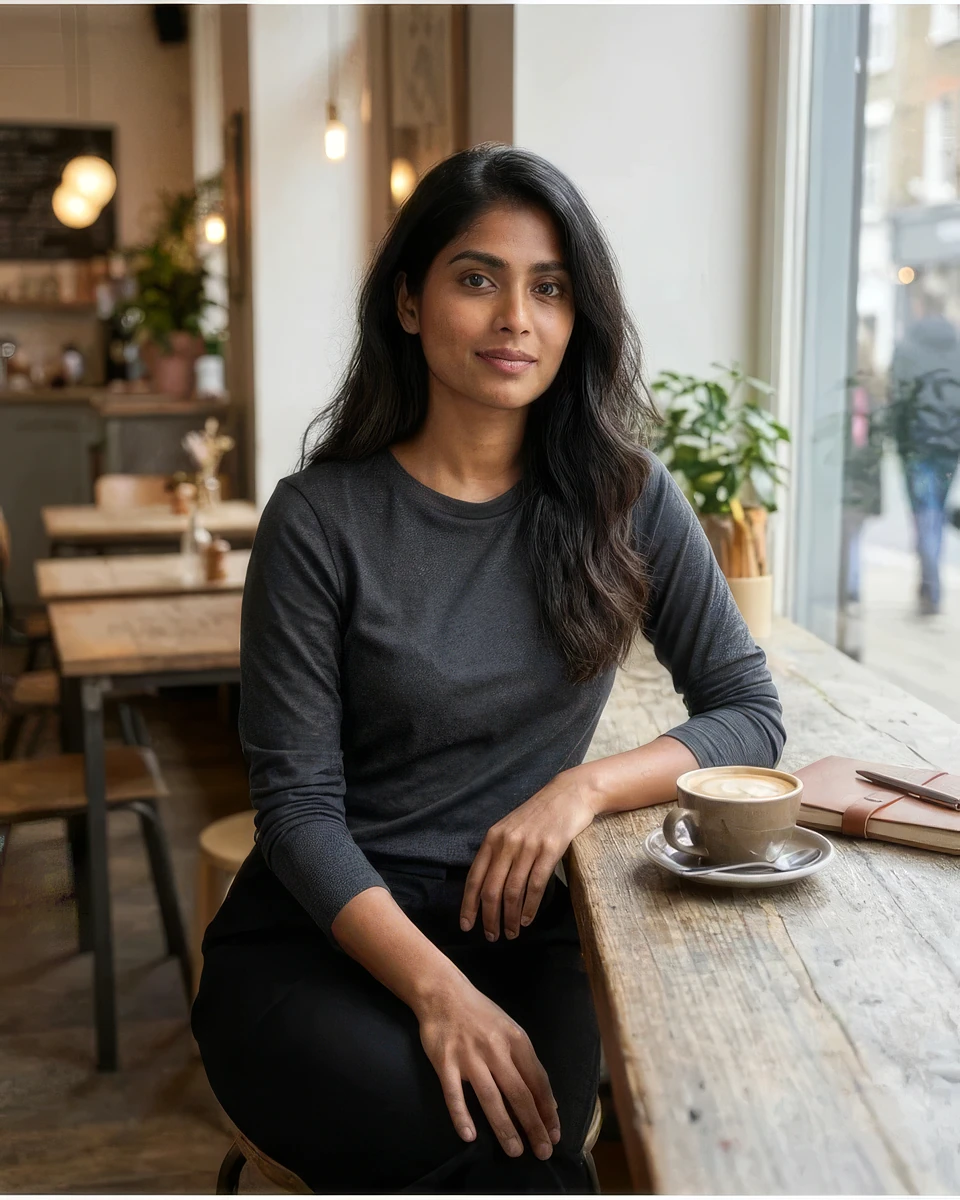
This fictional adult portrait begins as a deliberately small source. The paired result gives more room to inspect face, hair, and skin detail; it is an example, not a customer result.
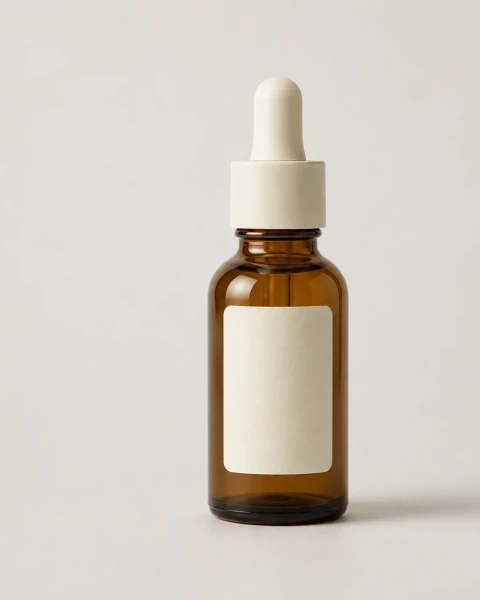
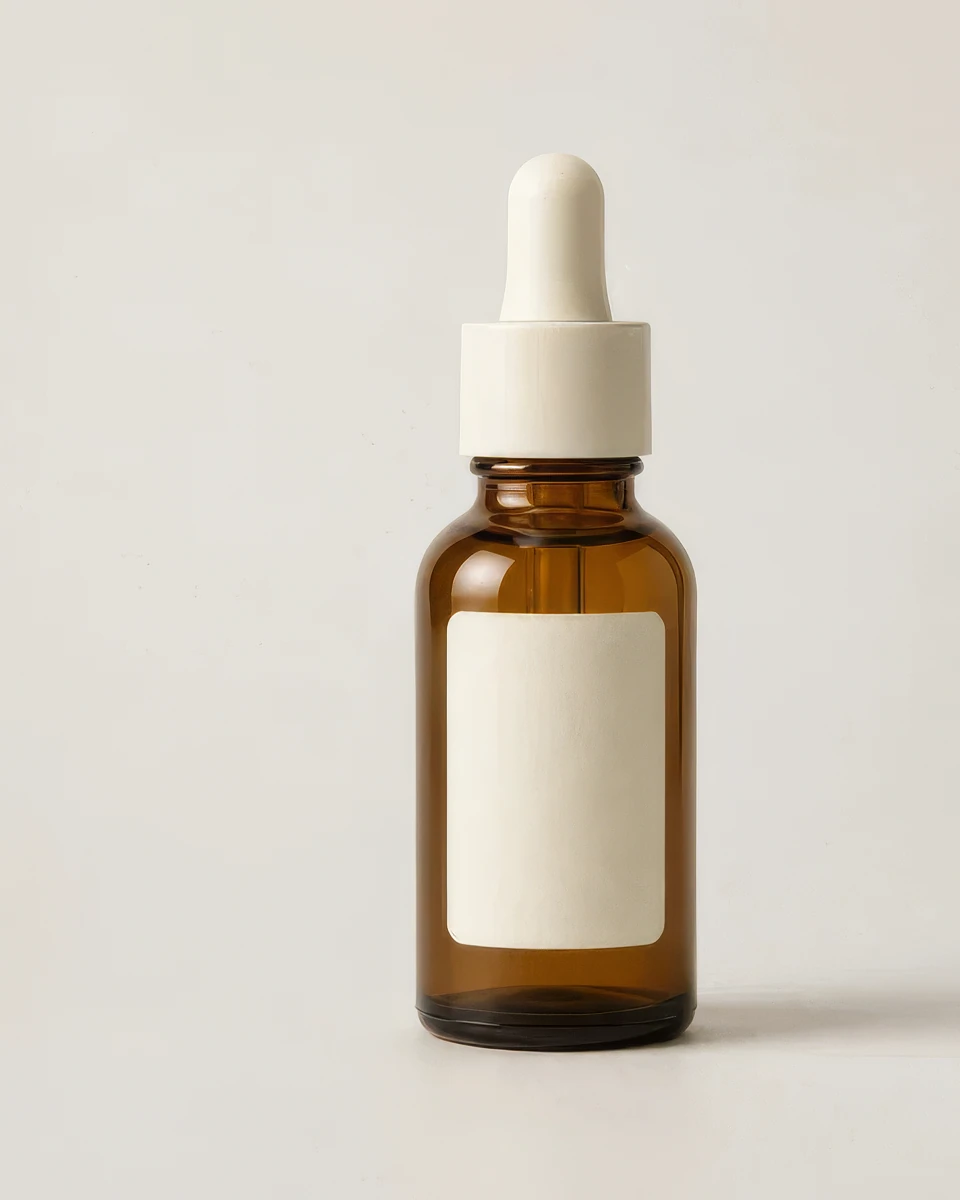
An unbranded product scene is shown as a smaller source and its paired 2× result. Review visible edges and packaging features rather than treating either image as a product claim.
This fictional fashion image shows how a larger review version can make texture, seams, and accessories easier to inspect before the next layout decision.
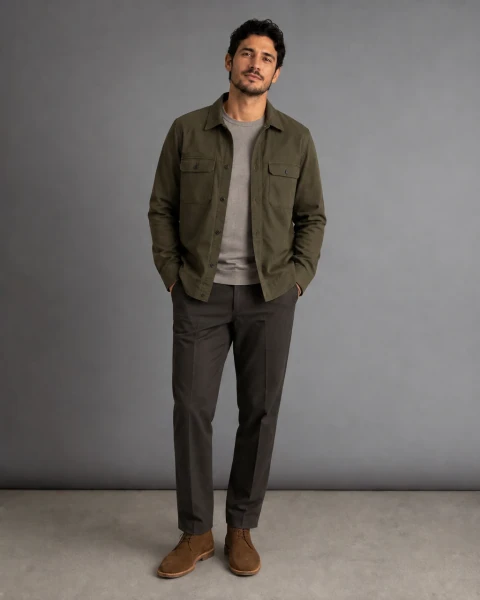

Use a larger review version when a compact source needs to move into a more visible placement. Check the person, background, text-like marks, and crop before publishing.


Use a separate result when its frame or detail level has a clear job in the next layout, channel, or review step.
Prepare a larger version before an approved image becomes a closer crop, carousel card, or reusable profile asset.
Use it to inspect a source more closely before a catalog, listing, or campaign layout relies on its visible details.
Use the review version to judge whether the original is credible for the intended physical size; print-ready suitability remains a human decision.
The public page stays focused on choosing the right task. Studio handles the actual authorized source and result when you are ready.
Choose a clear source you own or can use. Keep the important person, product, or scene detail visible.
Studio prepares one larger version of that image without asking you to write a visual direction.
Check the result at the size and crop you actually plan to use, then continue only if the visible details hold up.
A clear source makes the next decision more honest. These suggestions help you choose the right image before you open Studio.
Upscaling cannot recover information that is completely hidden by heavy blur, obstruction, or severe compression.
A clear face, product, garment, or scene gives you a more useful result to inspect.
Upscaling improves the size of a source. It does not replace a new photo when you need another angle, setting, or composition.
These are practical review points, not a promise that every source will be suitable for every placement.
Choose the task that matches the actual problem so you do not ask one workflow to solve an unrelated visual decision.
Resize changes dimensions. Upscaling prepares a larger version for visual review when the source needs more usable detail.
Sharpening emphasizes existing edges. Upscaling is for a larger overall version, while both still need a close quality check.
Restoration is for repairing a damaged or aged source. Use upscaling when the main issue is the image being too small for its next placement.
Use the output as a reviewable image asset. Do not treat a generated result as automatic clearance for a claim, a product detail, or a final placement.
Review the visible result at the final size, especially for print, product, identity, and fine-detail uses.
Heavy blur, tiny details, reflections, compression artifacts, and blocked areas can still make a result unsuitable.
You remain responsible for the source image, the final placement, and the review needed before publishing.
Use Image Extender when a placement needs more surrounding space, Photo Editor when the scene needs a directed change, or Product Photo Generator when you need a new product-focused image.
Add space beyond an image when the next placement needs a new frame.
Make a directed visual change to an authorized image.
Create a product-focused campaign image from an owned reference.
See every live workflow available in Studio.
Compare current plans and credit options.
Understand how Studio quotes work before you start.
These answers describe the current Studio workflow and the review expected before a result is used.
Open Studio when you are ready to use an authorized source image and review the result for the placement you actually need.
Upscale an Image in StudioUse the same credit plans, billing options, and generation choices available across the rest of the site. Studio shows the applicable credit quote before you submit.