
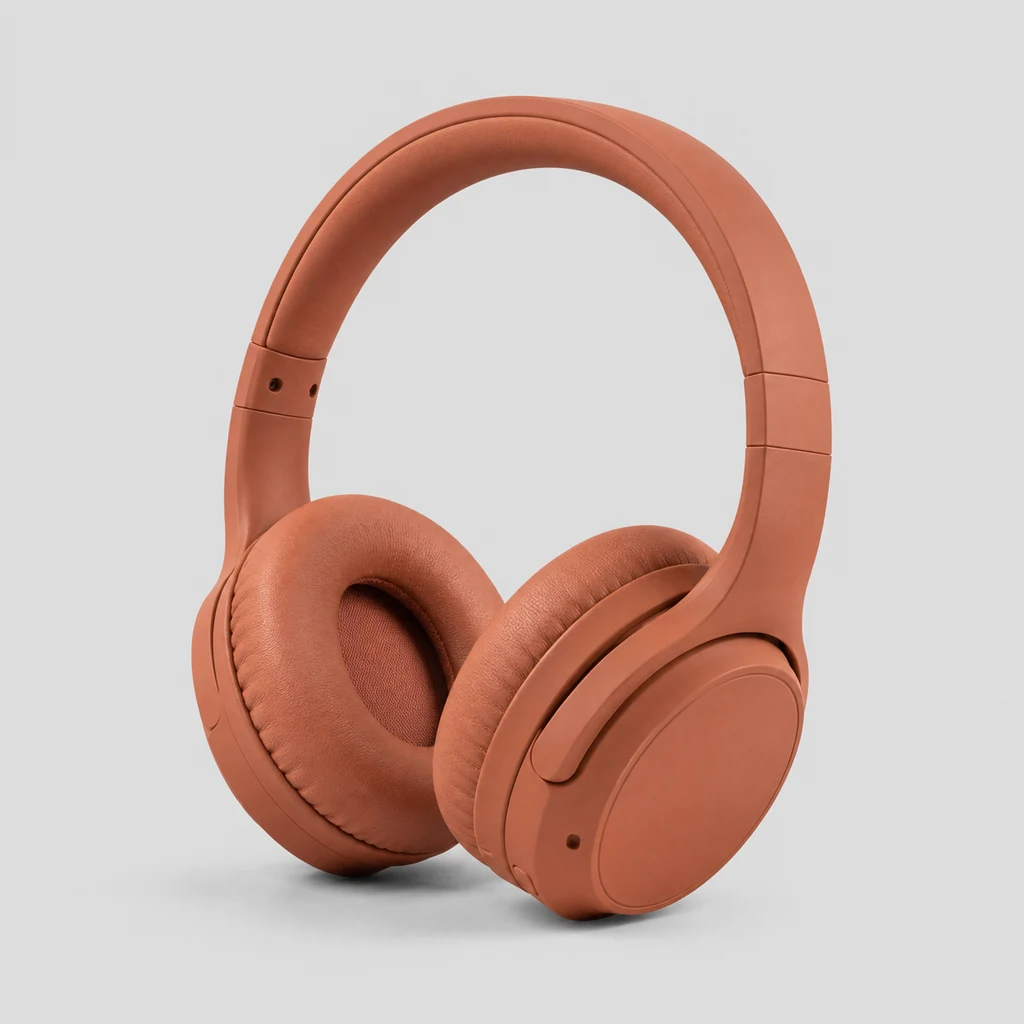
A product cutout ready for the next layout
The original setting is removed so the product can be reviewed and placed elsewhere later.
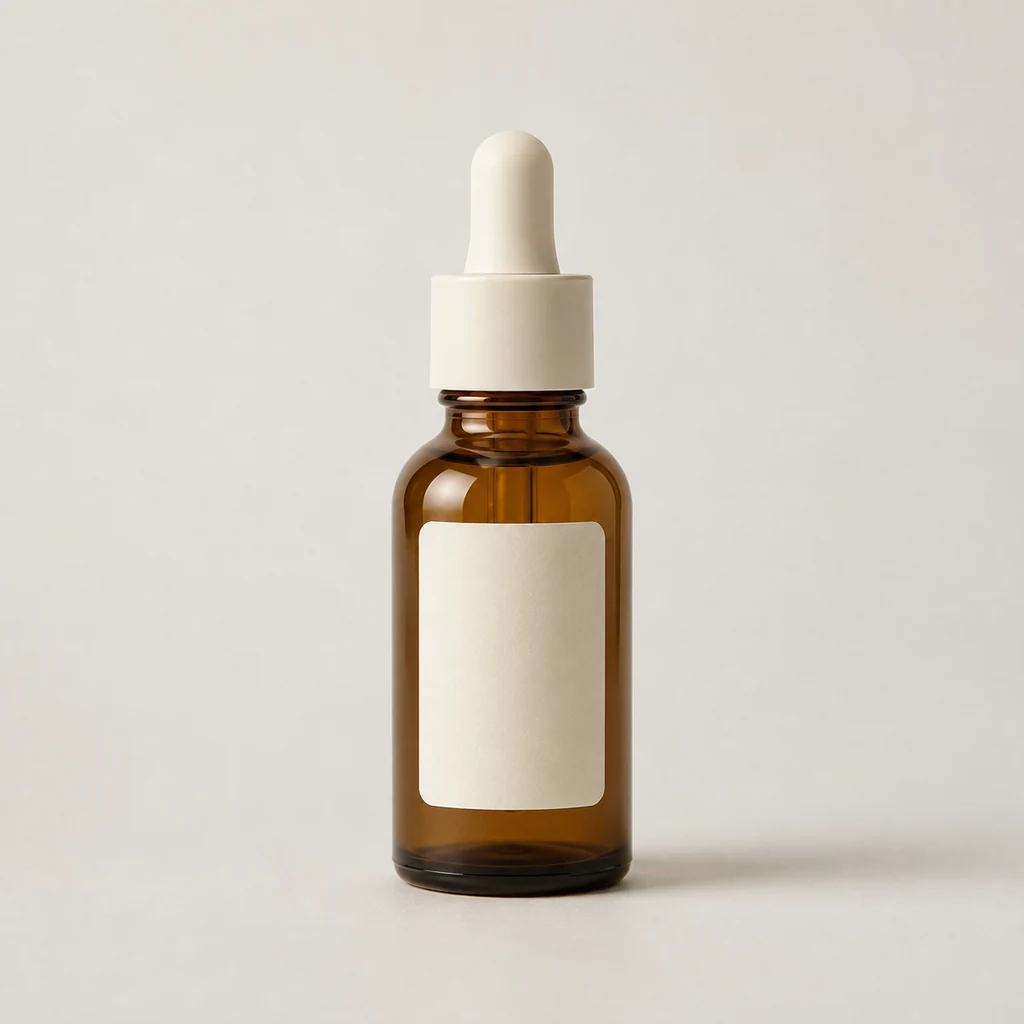
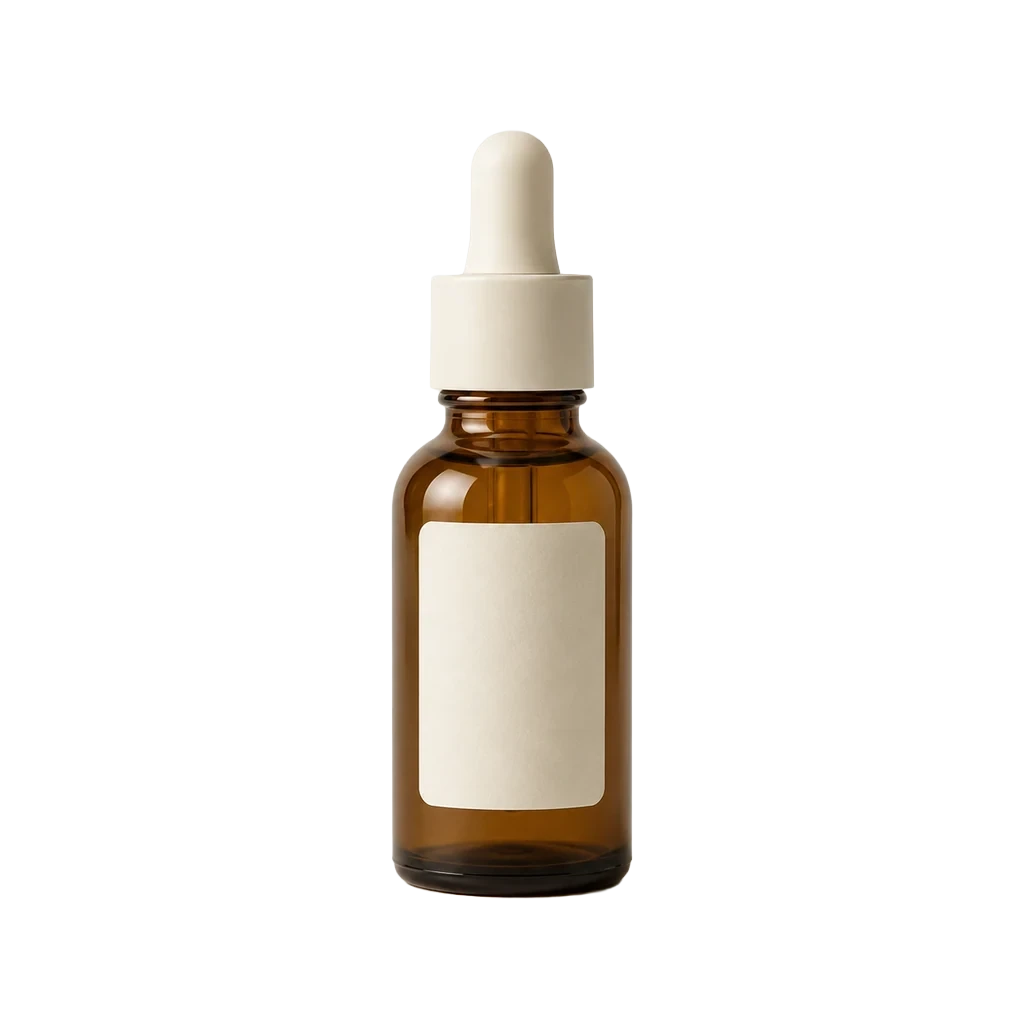
Keep the subject and remove the distraction behind it. Upload an authorized photo, create a transparent-background version in Studio, and use the clean cutout wherever the next creative step needs it.
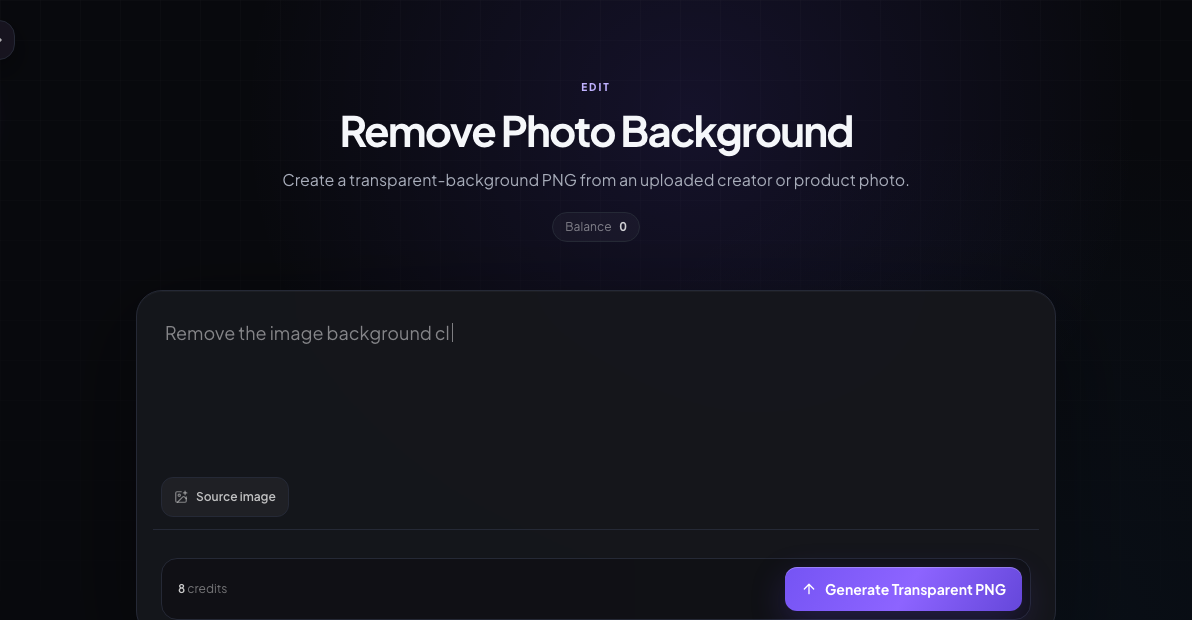
Remove a Background in Studio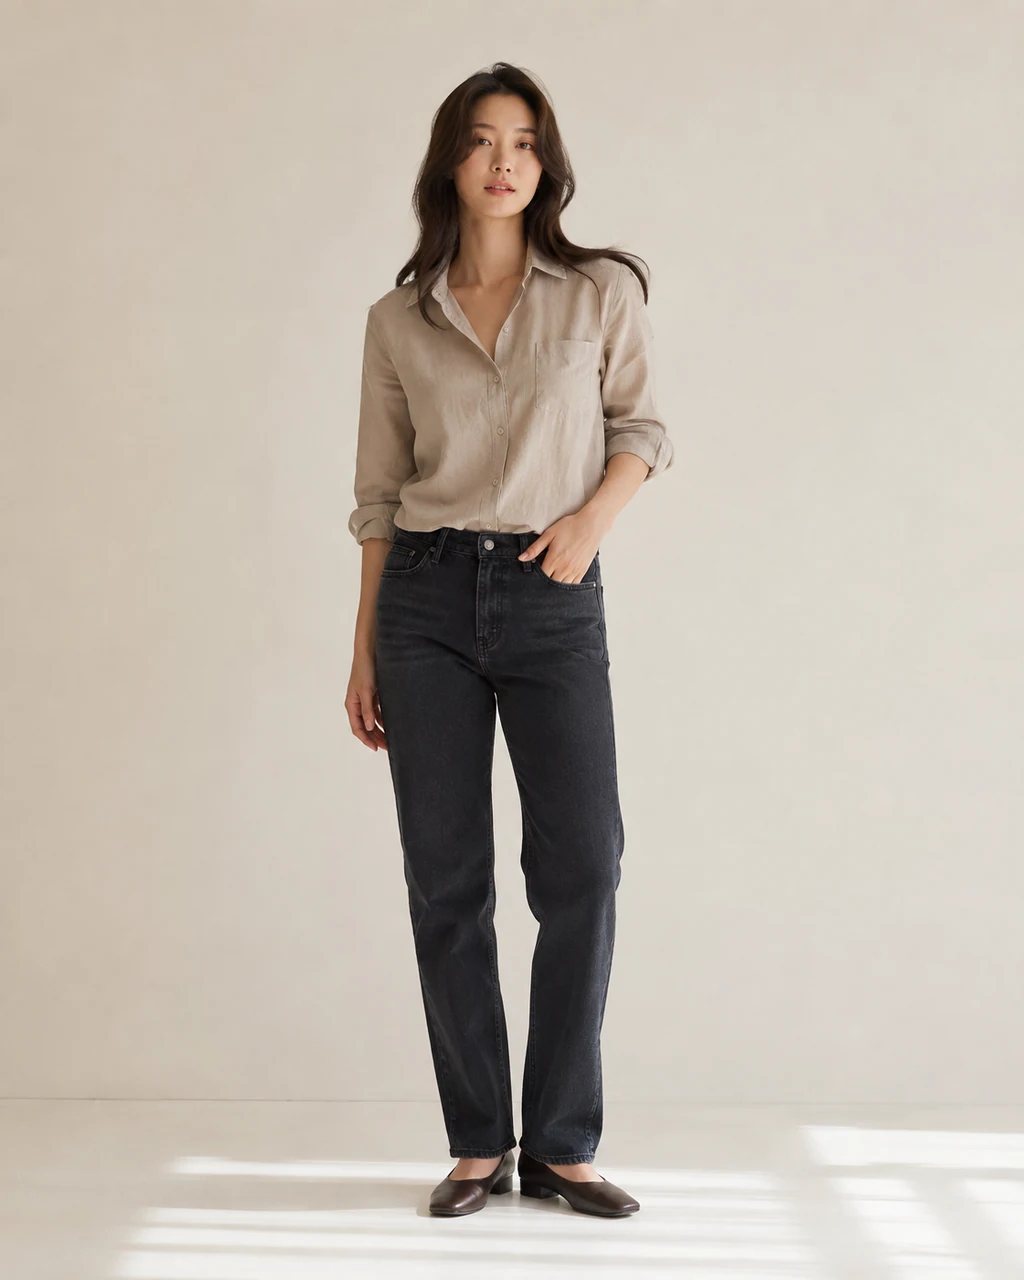
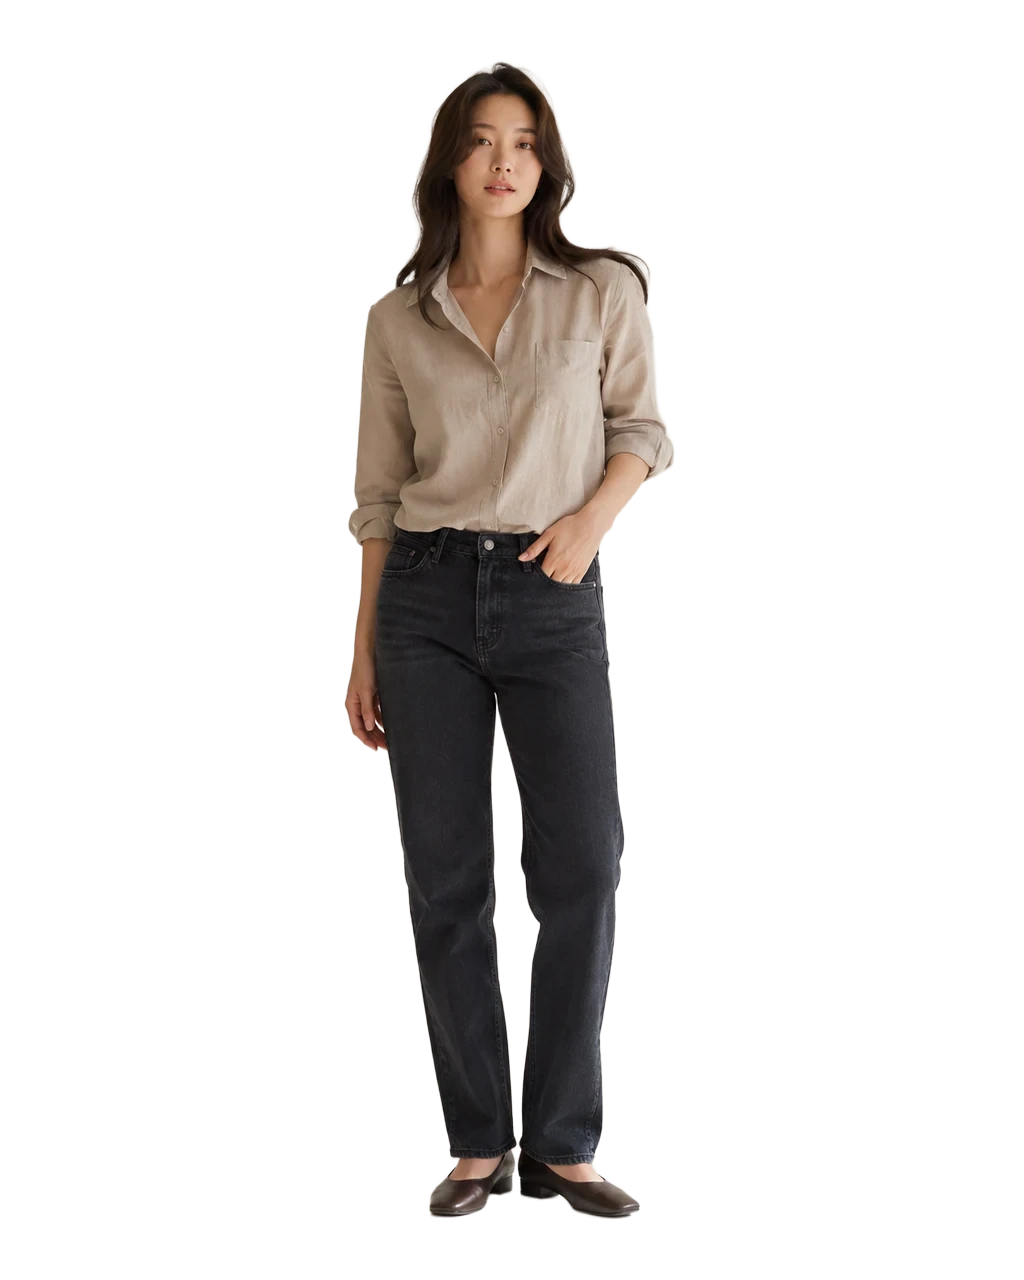
An AI background remover separates the main person or object from its surrounding scene and returns a transparent-background PNG. It is a practical first step before a new layout, product listing, profile image, or later image edit.
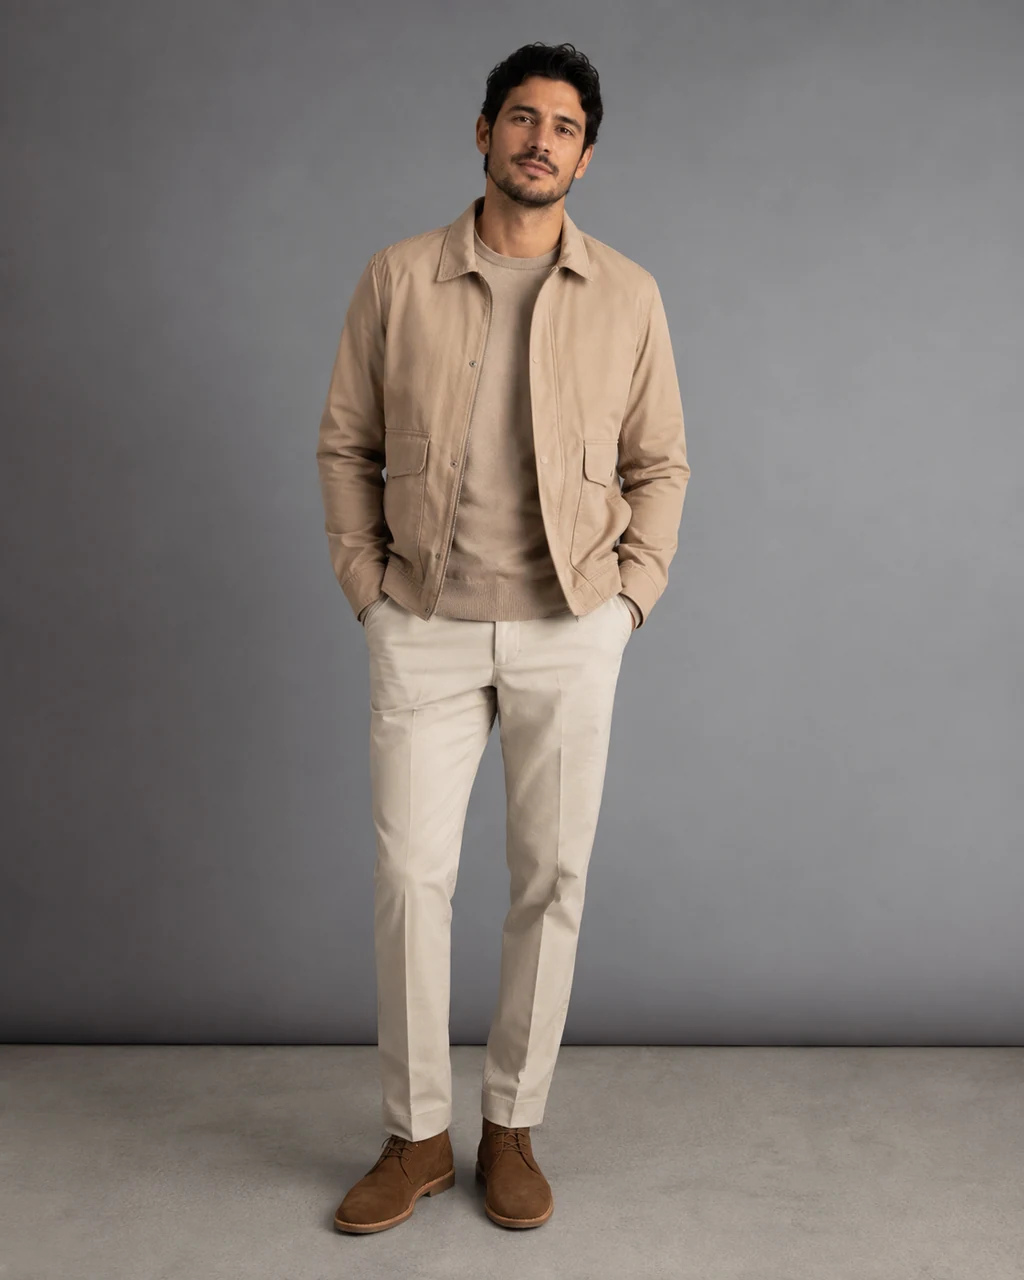
The source and transparent result below are fictional examples made through the same Background Remover workflow available in Studio.
The original setting is removed so the product can be reviewed and placed elsewhere later.
Background removal is strongest when the next step needs a clean, flexible subject or product cutout.
Remove the original scene so the subject can be placed on a new surface, color, or layout later.
Clean a product photo before a marketplace, catalog, advertising, or branded composition review.
Separate a creator or profile subject from a distracting background before the next creative step.
After download, move the cutout into a suitable image-editing workflow when a replacement background is needed.
A transparent background is a flexible starting point for the next deliberate creative decision.
A transparent cutout gives you a cleaner starting point for a new color, composition, or creative placement.
A separate background makes it easier to notice whether hair, clothing, products, and fine edges read cleanly.
Use background removal for the cutout itself, then choose another Studio workflow only when a second change is needed.
The Studio route keeps the source image, the task choice, and the pre-submit decision in one place.
A clear subject and visible edges make the result easier to inspect before it is used in another layout.
A clear subject, enough contrast around the edges, and visible product or clothing boundaries.
Fine transparent materials, heavy motion blur, same-color subjects and backgrounds, reflections, or overlapping people.
This workflow is for people who need a usable cutout before the next image, catalog, or layout decision.
Prepare products for a catalog, listing, advertisement, or a later lifestyle scene.
Clean up a portrait or full-body image before a profile refresh, thumbnail, or social graphic.
Start a visual variation from a usable cutout instead of repeatedly masking the same approved subject.
A transparent cutout gives a social team a more flexible asset for a simple color background, a designed layout, or a later scene change.
A transparent cutout can be used in a profile, thumbnail, or later scene without keeping the original background.

Use a clean product cutout as the base for an ecommerce review, a catalog layout, or a later campaign scene while checking every edge before publication.
Check shape, texture, labels, shadows, and small details before the cutout becomes part of a listing or ad.

A useful source image makes the final edge quality easier to review.
The subject is easier to review when it is visually distinct from the background in the original image.
Hair, accessories, transparent material, glass, shadows, and fine product details deserve an extra check.
Keep the transparent PNG when it solves the job. Use Photo Editor only when a new creative scene is actually needed.
Treat every generated image as a draft that needs a human review before you download, publish, advertise, or share it.
Choose the workflow that matches the amount of control and the kind of review your image needs.
Use it when the main job is to separate a clear person or object from its original scene and prepare a transparent asset.
Use manual masking when a production image needs exact hand-drawn edge treatment, complex layered compositing, or specialist retouch.
Keep the source authorization and expected use clear before you start.
Studio accepts JPG, PNG, and WebP source images. Use an image you own or have permission to use.
The Background Remover workflow produces a transparent-background PNG for you to review, download, or continue editing.
Use the same credit plans, billing options, and generation choices available across the rest of the site. Studio shows the applicable credit quote before you submit.
The final decision stays with the person preparing the image for its intended audience, platform, and commercial use.
Very fine hair, glass, reflections, shadows, similar colors, and overlapping objects can need more attention before use.
Choose the next layout or background intentionally and do not treat a clean cutout as proof of a real scene or product claim.
Upload only photos you own or have permission to edit. Review the final result, disclosures, and commercial-use requirements before publishing or using an image in an ad.
Use Photo Editor for a new scene, Product Photo Generator for a product-focused composition, Headshot Generator for a profile image, or Clothes Changer for a new wardrobe direction.
Continue with a new scene, style, crop, or campaign direction after cleanup.
Create product-only images from an owned product source.
Create a polished profile image from an authorized adult source.
Explore a written wardrobe change on an authorized adult image.
See every live workflow in the Studio.
Compare plans and current credit options.
Understand how Studio quotes work before you start.
Review privacy, rights, and commercial-use terms.
These answers describe the current Studio workflow and the review expected before a result is used.
Open the matching Studio workflow when you are ready to upload an authorized source image.
Remove a Background in Studio