
A portrait crop needs a wider placement
Create more side space for a banner, travel view, product layout, or editorial composition.
Start with one authorized image, choose the new frame and the space you need around it, then review the added area before using the wider or taller version.
Extend an Image in StudioAn AI image extender adds new area beyond an existing image edge. It is useful when you need a different orientation, more headroom, banner space, or a repaired composition without cropping the original subject away.
Extension is a composition task. It should solve a specific space or orientation need while keeping the existing subject, lighting, and perspective coherent enough to review.
Create more side space for a banner, travel view, product layout, or editorial composition.
Add room above or below the subject when a social placement needs a taller composition.
Extend the visible environment when the full outfit, room around a product, or natural framing is important to the next use.
These jobs begin with an existing authorized image and a specific placement problem, not a generic image search.
They may need the same approved image to work across tall stories, square posts, and wide campaign placements.
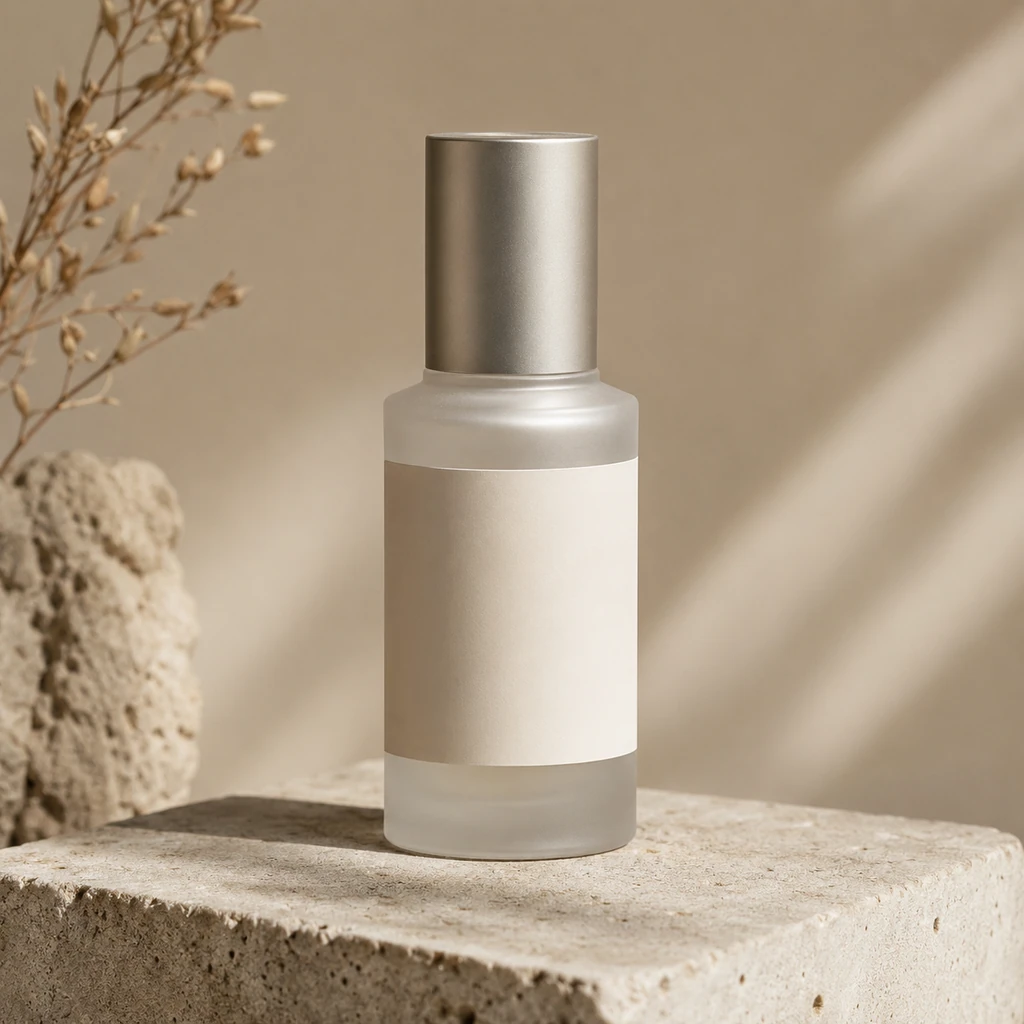
They may need intentional surrounding space around a product for a banner or layout while keeping the existing item recognizable.
They may need headroom, a wider environmental view, or a full-length frame without removing more of the original image.
The source is a fictional adult beauty image. The paired result adds vertical space for a story-style placement; it is an illustrative workflow example, not customer proof.
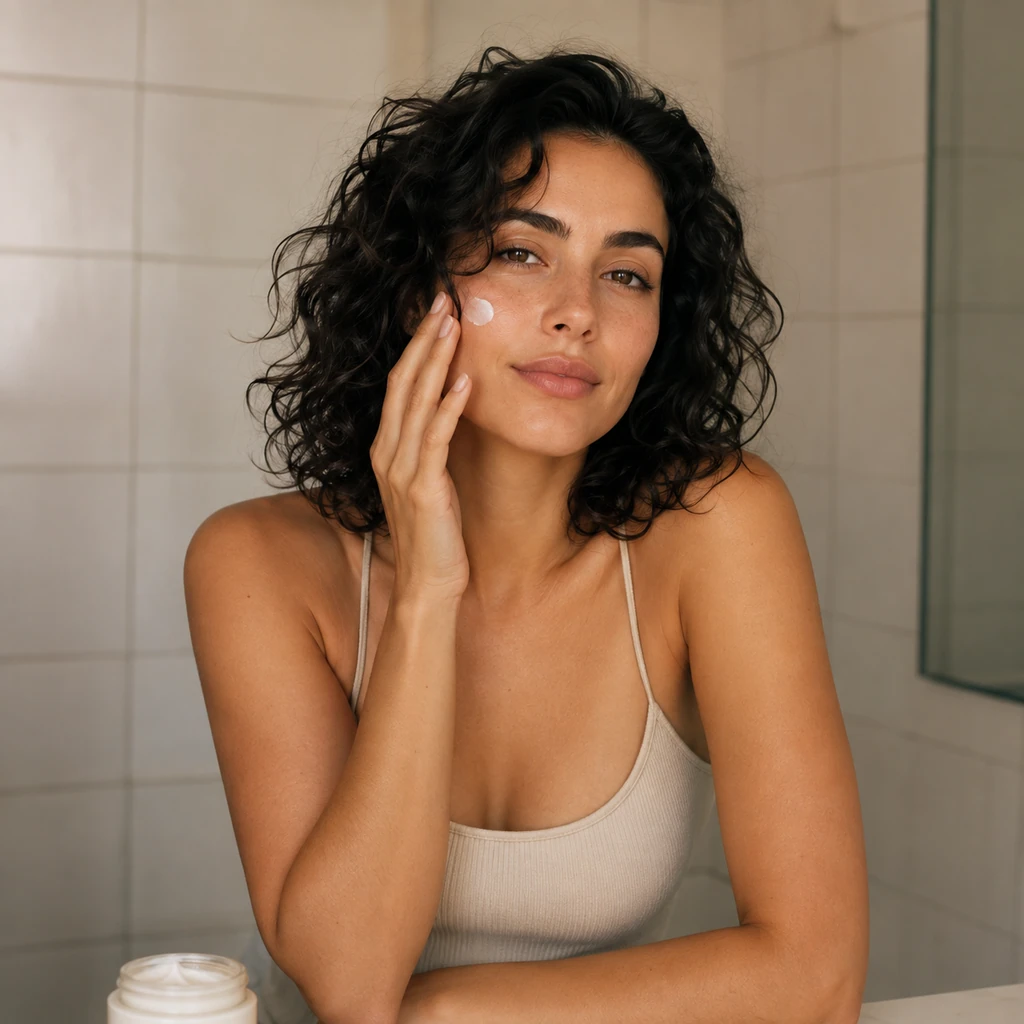
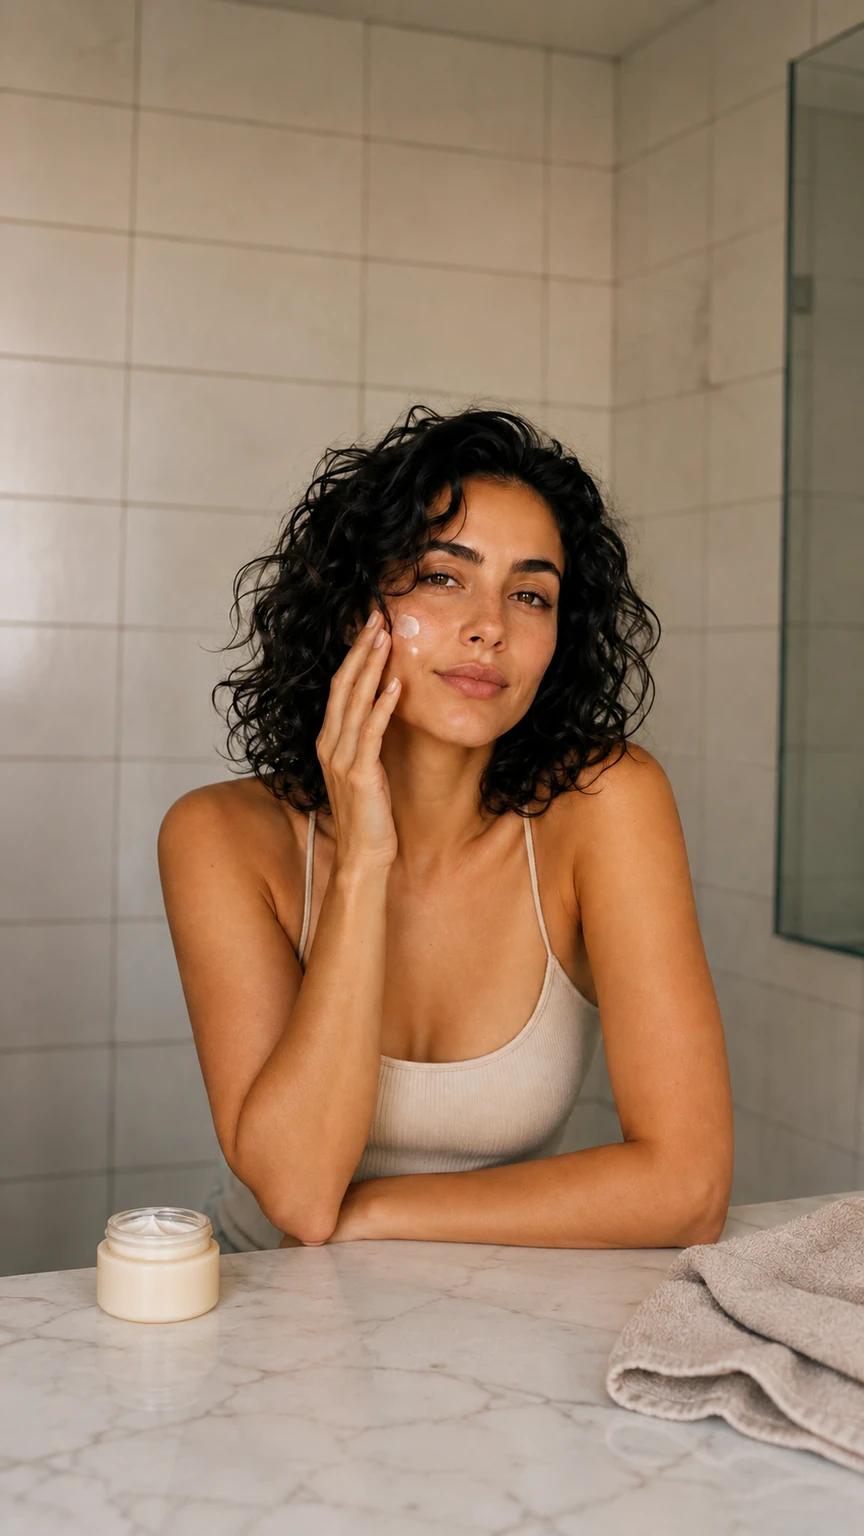
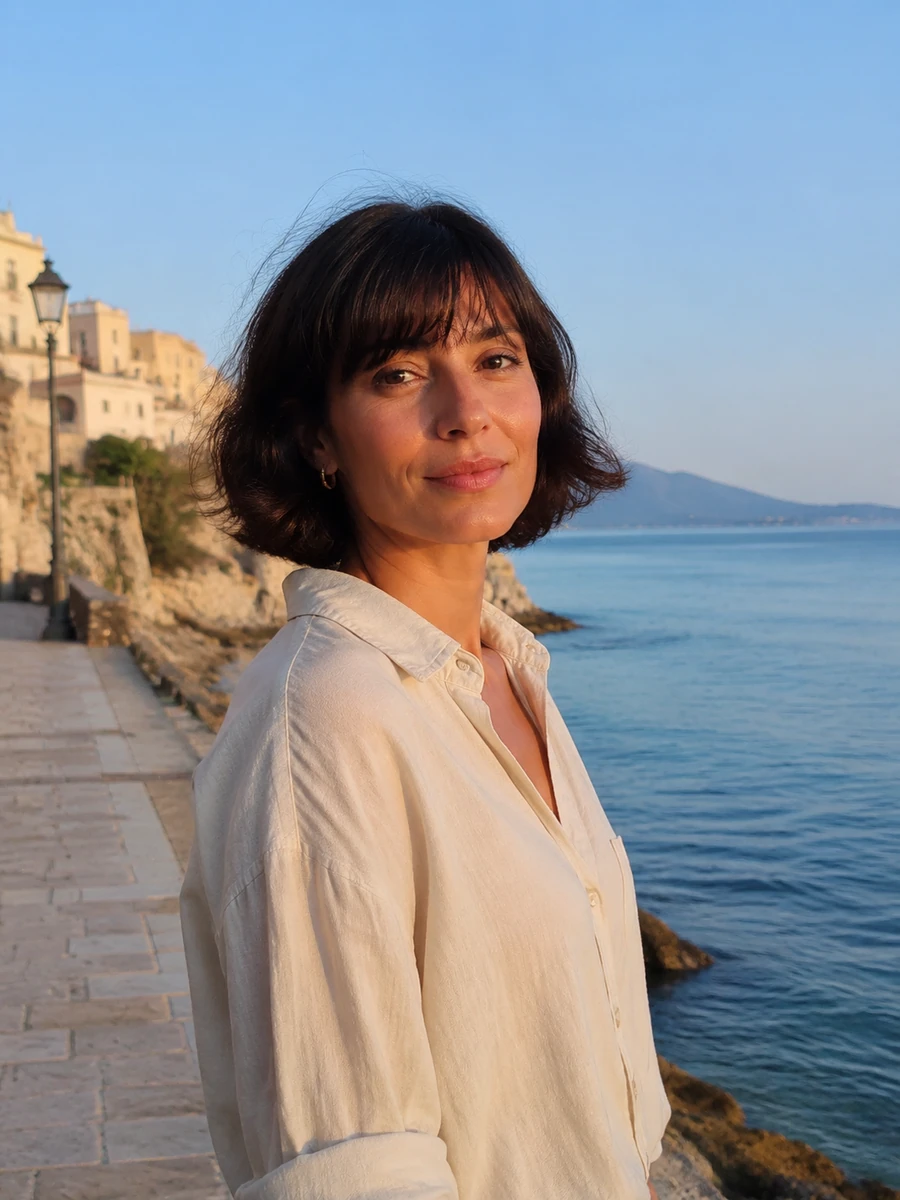
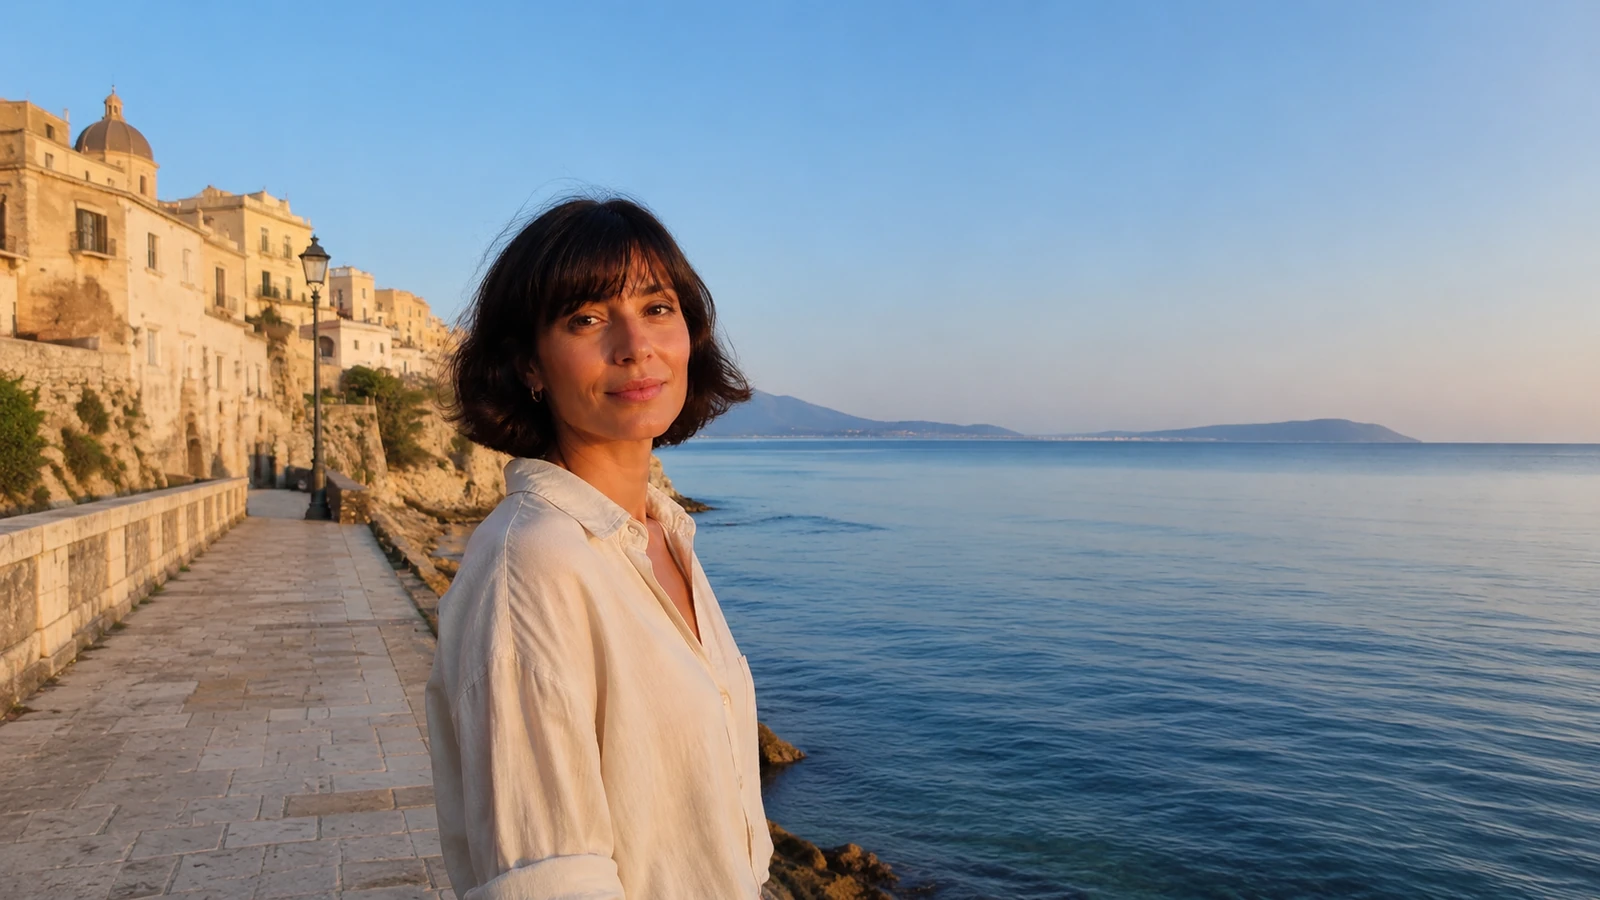
A fictional travel portrait is extended into a wide frame. Check the horizon, perspective, lighting, and subject continuity before a wide placement is approved.
An unbranded product source gains deliberate surrounding space. It remains an example image, and visible packaging details should be reviewed against the source before use.

This fictional adult fashion source is extended into a taller composition. Review the outfit, hands, floor, and surrounding environment before a full-length placement.
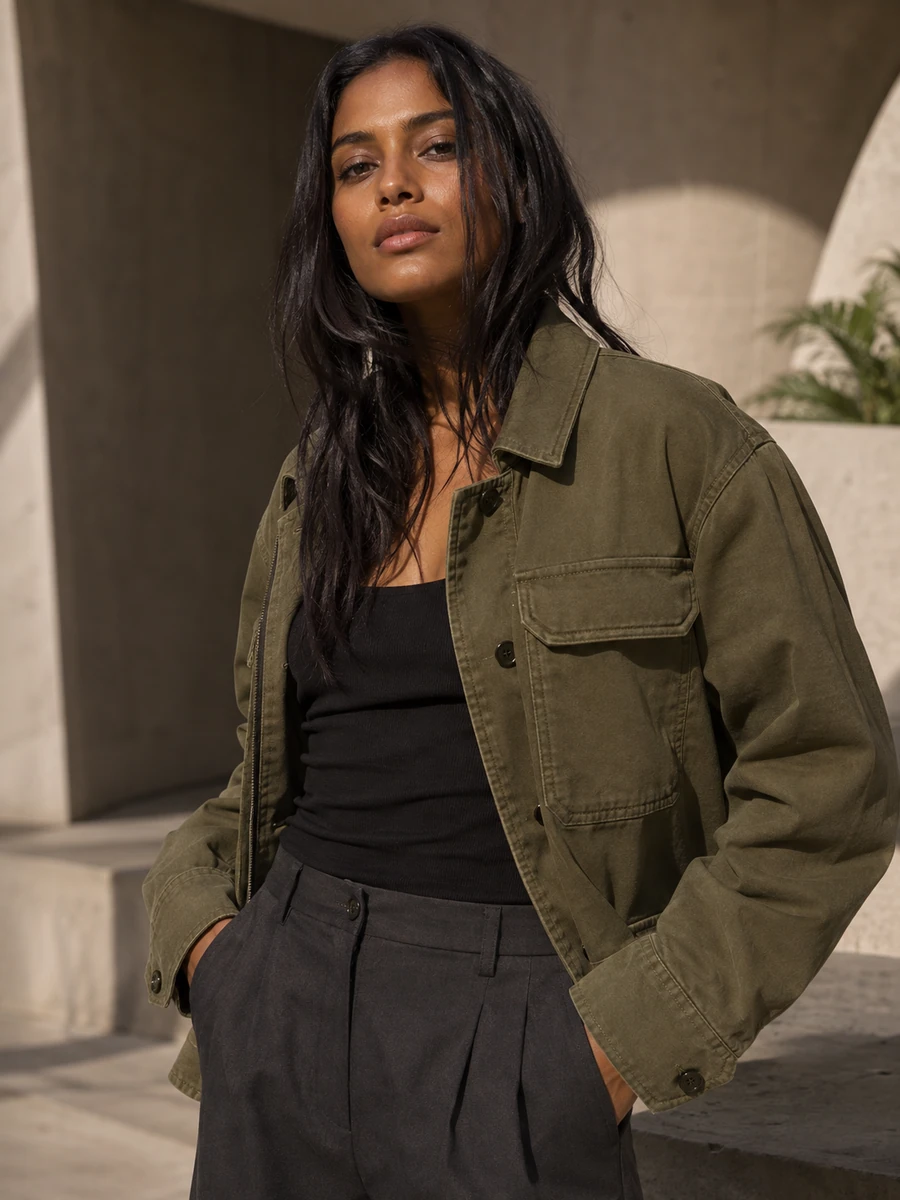
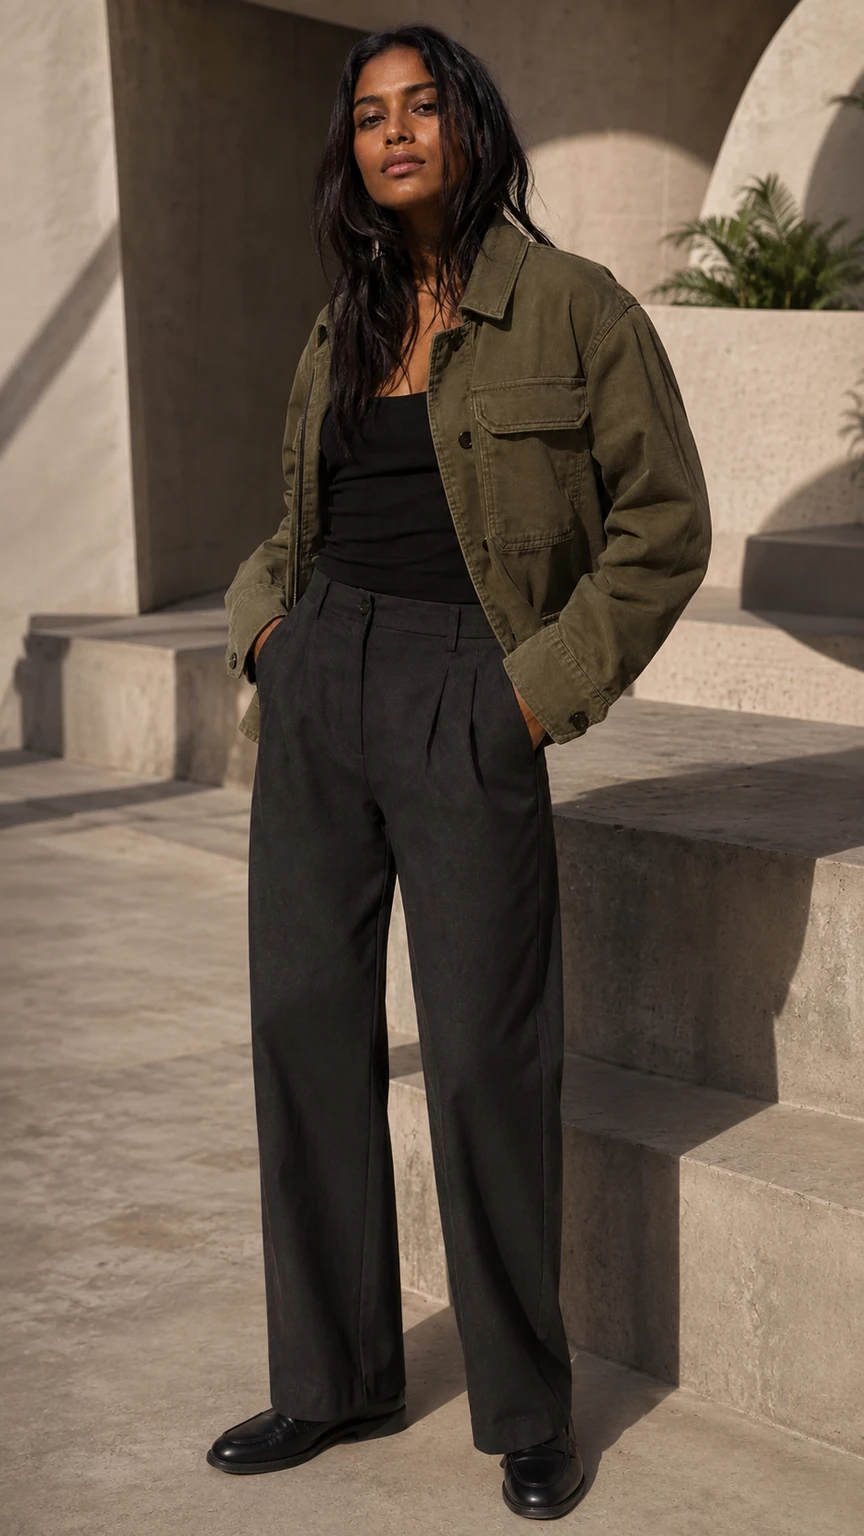
Use a separate result when its frame or detail level has a clear job in the next layout, channel, or review step.
Adapt an approved source to a tall story, a wide cover, or another required frame while reviewing the new surrounding area.
Create intentional room around a product for later layout work instead of squeezing the existing object into a wide crop.
Add headroom, floor, or environmental context when a tight crop keeps the original image from doing its next job.
The public page stays focused on choosing the right task. Studio handles the actual authorized source and result when you are ready.
Choose a source with a visible main subject and enough scene information to guide a continuation.
Select the target ratio and state the space you need, such as more headroom, a wider view, banner room, or a full-length composition.
Check the added area for continuity in perspective, light, environment, clothing, product shape, and the existing subject.
A clear source makes the next decision more honest. These suggestions help you choose the right image before you open Studio.
A readable person or product gives the continuation a stronger visual anchor.
Ask for more room around the current image and name what the placement needs, so the continuation has a focused job.
Select the final orientation before you begin, then judge the result in the layout where it will actually be used.
These are practical review points, not a promise that every source will be suitable for every placement.
Choose the task that matches the actual problem so you do not ask one workflow to solve an unrelated visual decision.
Crop removes part of an image. Extension adds surrounding area when removing more of the source would lose the composition you need.
Resize changes dimensions. Extension changes the available frame by creating new area around the existing source.
Background replacement changes a scene. Extension is for continuing the current scene and perspective beyond its existing edges.
Use the output as a reviewable image asset. Do not treat a generated result as automatic clearance for a claim, a product detail, or a final placement.
A useful frame still needs review around perspective, repeated details, light, hands, product shape, and scene edges.
Use a separate editing task when the actual need is a different setting, product arrangement, or creative concept.
You remain responsible for the source image, any publishing rights, and the final review required for the placement.
Use Image Upscaler when the source is too small, Photo Editor for a directed visual change, or Background Remover when the next job needs a flexible cutout rather than a larger frame.
Make a small source more usable before the next placement.
Make a directed visual change inside an authorized image.
Separate a person or product from its original background.
See every live workflow available in Studio.
Compare current plans and credit options.
Understand how Studio quotes work before you start.
These answers describe the current Studio workflow and the review expected before a result is used.
Open Studio when you are ready to use an authorized source image and review the result for the placement you actually need.
Extend an Image in StudioUse the same credit plans, billing options, and generation choices available across the rest of the site. Studio shows the applicable credit quote before you submit.