
How to Make an Image Low Quality
Make an image look deliberately worse—without confusing a smaller file with a lower-resolution or more pixelated look.
Upload one authorized JPG, PNG, or WebP. Choose the damage. Review the actual output.
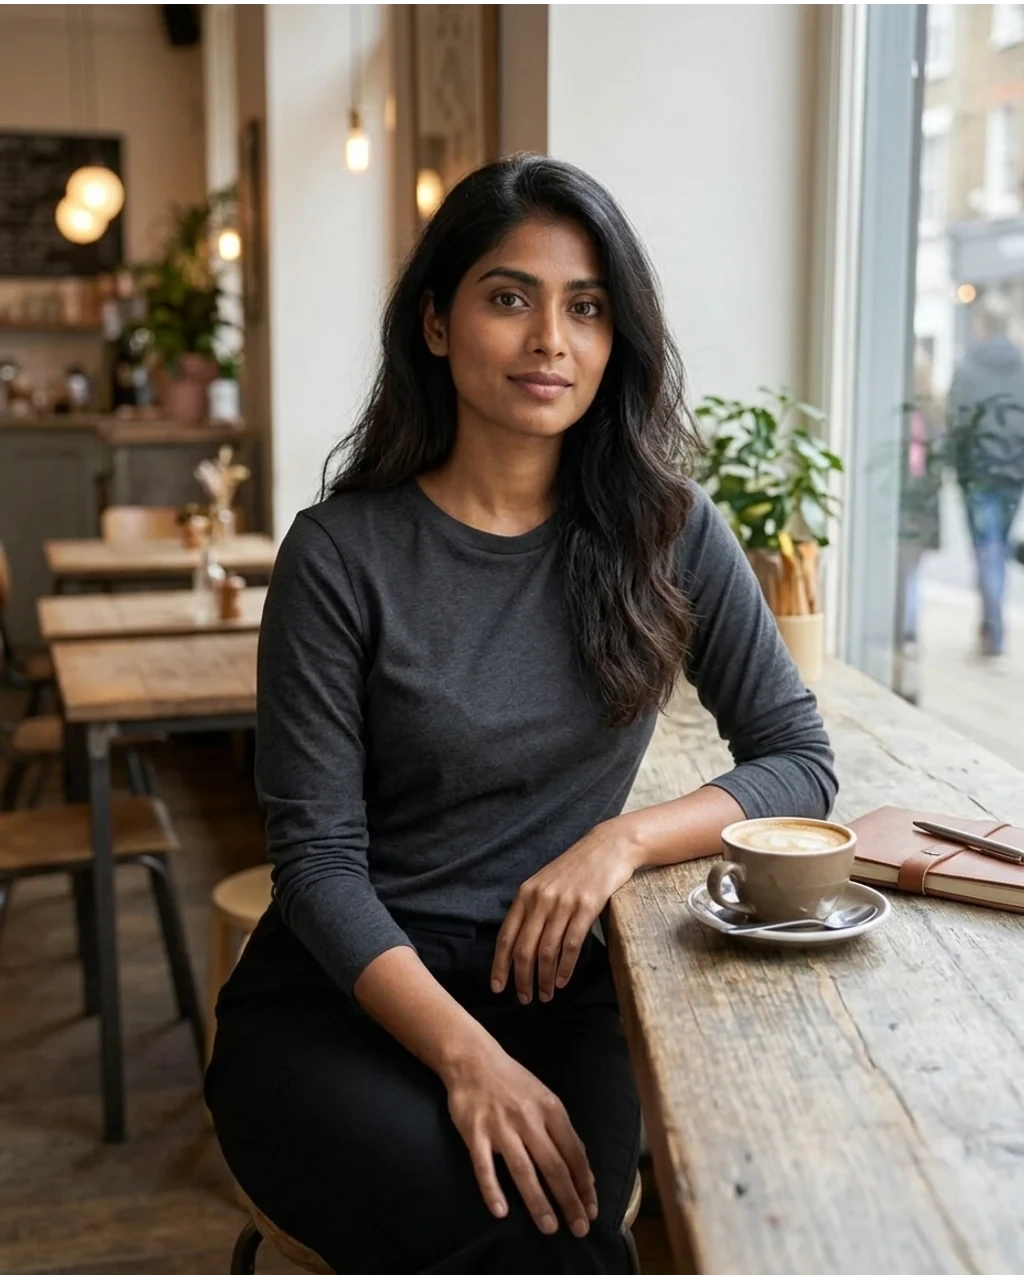
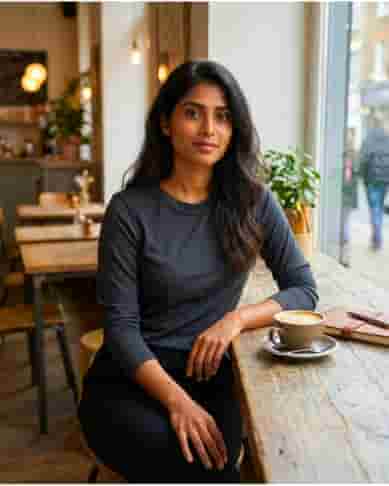
“Low quality” can mean five different things.
Compression
Blocks, ringing, and color banding from encoding.
Resolution
Fewer pixels to describe the original detail.
Pixelation
Hard square edges after downsampling.
Blur
Softer fine detail and reduced edge clarity.
Noise / passes
Artifacts compound when a file is encoded again.
A focused edit
Choose a deliberate low-quality effect
- 01
Your source
A source image
- 02
Your direction
A degradation direction
- 03
Your review
Readability and intended style
Choose the result you actually need.
- Need a smaller upload? Lower JPEG quality first, then reduce resolution only as far as the destination allows.
- Need a retro low-res look? Lower the resolution scale. Use smooth edges for a soft image or pixelated edges for visible squares.
- Need a bad meme? Combine a low quality value, pixelation, more saturation, and repeated compression.
- Need to hide fine detail? Use modest blur with lower resolution. This is visual reduction, not a promise of privacy or redaction.
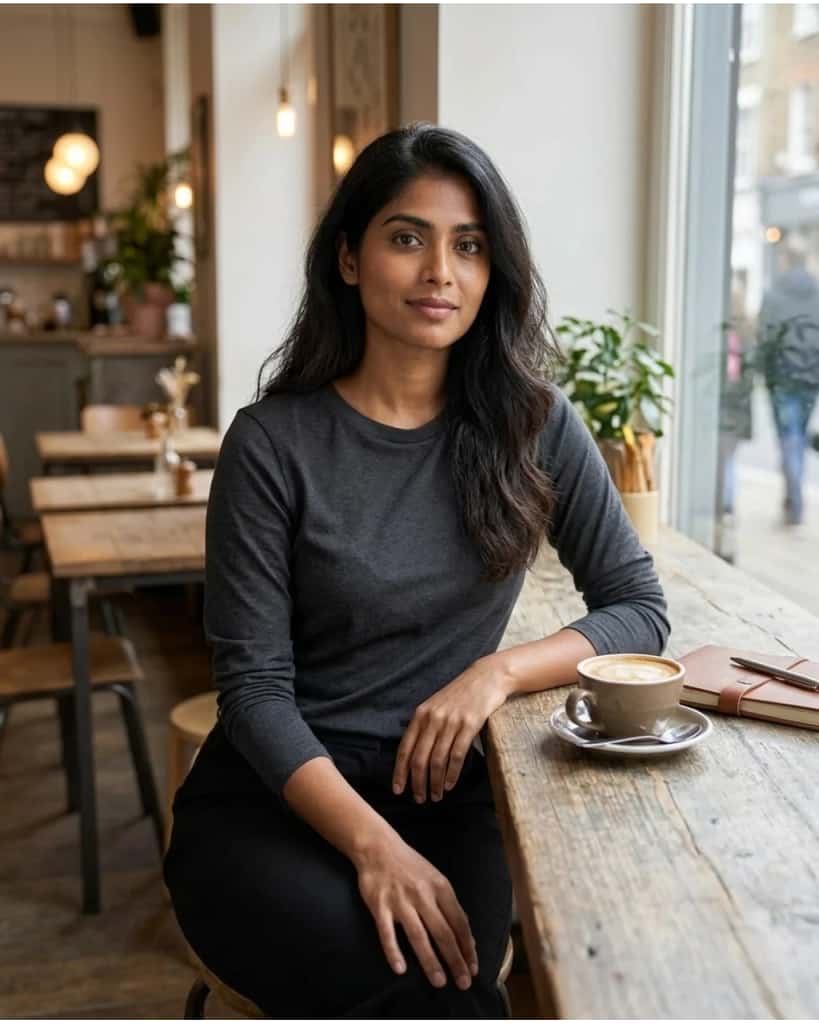
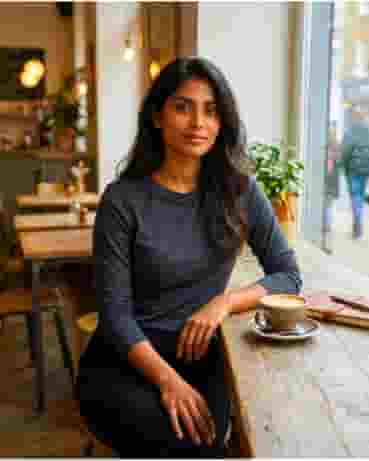
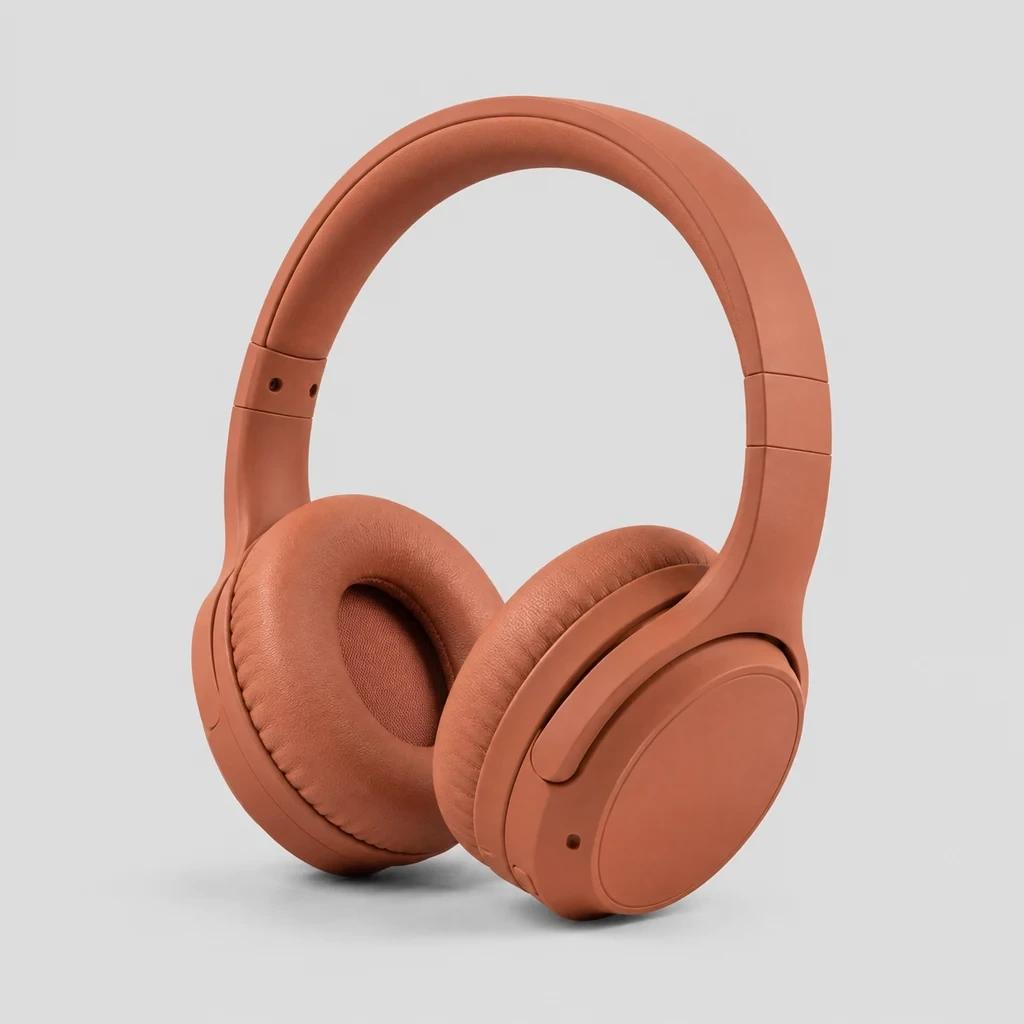
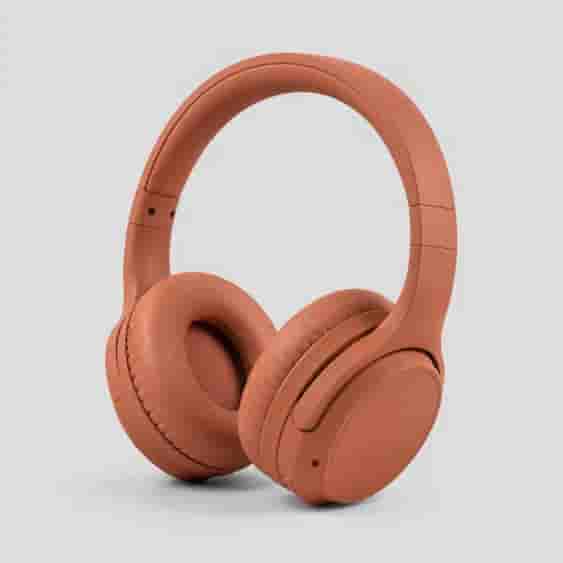
Smaller on disk is not always worse to the eye.
This product source is 1024 × 1024 and 47 KB as WebP. Its compressed version is 563 × 563 and 5 KB as JPEG. The biggest visual change comes from both the lower pixel count and the heavier encoding—not a vague “low quality” switch.
- Source
- 1024 × 1024 · 47 KB
- Result
- 563 × 563 · 5 KB
Resolution down, then up: smooth and pixelated are different.
Smooth resampling blends neighboring detail. Pixelated resampling holds the new pixels as sharp blocks. Neither recreates the missing detail; they create different edges for the same reduced image.
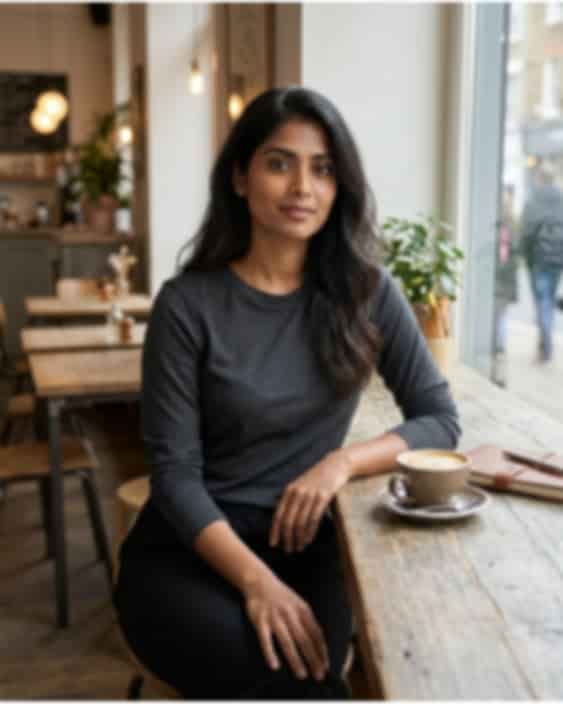
JPEG quality and generation loss build up.
A second or third JPEG pass is not the same as a single lower-quality export. Each pass reads an already damaged image and adds its own block edges, halos, and banding. Use one pass for a lighter file; add passes only when the worn, “deep-fried” look is the point.
Make a blurry phone or old webcam look.
A convincing poor-camera treatment usually uses reduced resolution before blur. Too much blur at full size reads like an editing mistake; smaller dimensions first make the softened face, hair, and background feel like a limited camera.
For an old webcam preset: 42% resolution, quality 26, blur 2, saturation 74%, and two compression passes.


Hit an upload limit without blind trial and error.
Enter a JPEG target file size when bytes matter. Studio searches compression levels, then records the result you actually received. Image detail, dimensions, and format determine whether a target is feasible.
| Goal | Start with | Check after export |
|---|---|---|
| Small upload | JPEG + target KB | Actual KB and readable text |
| Pixelated image | 28% scale + pixelated | Hard edges, no important detail |
| Webcam look | 42% scale + blur | Face, contrast, and crop |
How to do it in Studio.
There is no prompt to guess at. The output follows the source and the settings you choose.
- 01
Upload
Choose an authorized JPG, PNG, or WebP.
- 02
Set the damage
Pick a preset or adjust quality, scale, edges, blur, saturation, and passes.
- 03
Review
Studio moves the task to My Images, then shows the finished image for download or deletion.
Settings cheat sheet.
Mild compression
Quality 58 · Scale 80% · Smooth · 1 pass
Pixelated
Quality 42 · Scale 28% · Pixelated · 1 pass
Blurry phone
Quality 38 · Scale 55% · Blur 4 · 1 pass
Old webcam
Quality 26 · Scale 42% · Blur 2 · Saturation 74% · 2 passes
Deep-fried meme
Quality 12 · Scale 36% · Pixelated · Saturation 180% · 3 passes
What survives degradation—and what does not.
Faces lose eyelashes and hair texture early. Small text breaks into blocks. Gradients develop bands. Fine lines become either soft or jagged. If any of those details matter for print, product information, identification, or long-term storage, do not reduce the only copy.
Continue with a different image task
Each route starts from a different input or solves a different production task.
AI Photo Editor
Make a directed visual edit when intentional degradation is not the goal.
AI Image Upscaler
Prepare a separate reviewed larger version instead of losing source detail.
Background Remover
Create a transparent cutout before another compatible image step.
AI Image Variation
Explore a new visual direction from an authorized source image.
Before you begin
Bring your direction into Studio
- A source image
- A degradation direction
- Readability and intended style
Low-quality image questions.
What is the difference between JPEG quality and resolution?
JPEG quality controls compression artifacts and file size. Resolution changes the number of pixels. Both can make an image look lower quality, but they are not the same control.
Can I make a photo look pixelated?
Yes. Choose Pixelated in Studio, then lower the resolution scale. Nearest-neighbor resampling keeps the resulting square pixel edges visible.
Can I target a smaller file size?
For JPEG output, you can enter a target size. Studio searches for a practical compression level, but detailed images may not reach every exact target.
Will a low-quality image become high quality again?
Not reliably. Compression, blur, and downscaling discard detail. Keep the original file if you may need it later.
Which images can I upload?
Upload a JPG, PNG, or WebP that you own or have permission to process. Review transparent PNGs carefully when choosing JPEG because JPEG uses a solid background.
Choose the kind of low quality you mean.
Use repeatable settings, inspect the result, and keep your original file.
Plan Content
Measure Engagement
Build Your Profile
Price Your Work
Write Post Copy
Brand Partnerships